honing stones, jnat

対馬 Tsushima


Eksperymentalny podział kamienia 

Tsushina to nazwa wyspy niedaleko Nagasaki w Japonii. W gronie pasjonatów jnat, knifemakerów, brzytwiarzy i stolarzy nazwa Tsushima budzi jedno automatyczne skojarzenie do grubych osełek o czarno-szarym kolorze. Mimo, że kopalnia już nie działa, a sprzedaż nowych osełek jest ograniczona do starych zapasów surowców, Tsushima na tle innych jnats w typowym rozmiarze jest całkiem dostępna cenowo (150-200USD u źródła, plus cła i transport w Europie i USA).

Ta najczęściej spotykana wersja Tsushimy ma kolor czarny, łatwo wytwarza mleczno-szarą zawiesinę i jest kamieniem średnio-miękkim. Kopano ją spod dna morskiego (ciekawe byłoby dowiedzieć się jak radzono sobie kiedyś z takim wydobyciem. Na rynku spotyka się jej dwie formy – grubej cegły oraz sześciennych okruchów do wytwarzania zawiesiny. Mówimy tu o kamieniu określanym mianem Ocean. Istnieje też kamień Tsushima Mountain o kolorze brunatnym w niższej progresji.

Nie zacznę od zachwalania tego kamienia. Byłoby to bardzo mylące dla osób zaczynających z jnats. Chciałoby się mieć jeden kamień, który zarówno formuje, jak i ostrzy, i dodatkowo poleruje. Tak się niestety nie da… Tsushima jest wspaniałym kamieniem korygującym tzn. Nagurą. Różnie określa się jej gradację, czasami mylnie porównując z kamieniami syntetycznymi. Skorą jest Nagurą, naturalnym będzie odniesienie do etapów progresji wg Mikawy (choć z nimi nie ma nic wspólnego). Tsushima pracuje najlepiej w środku skali, na etapie Mejiro i Tenjyou – już po uformowaniu i zasadniczym ostrzeniu. Czego należy się po niej spodziewać? Amatorzy noży i stolarze – wykończenia, amatorzy brzytew – pięknej korekty krawędzi tnącej. Ta korekta to czyszczenie po wcześniejszych etapach, usuwanie rys, wyrównanie apexa. Daje też typową dla jnat powierzchnię przypominającą trawienie metalu. To bardzo dobra oznaka. Wskazuje na to, że kamień zbiera materiał z bardzo małymi zarysowaniami, gęsto i płytko, zamiast zacierania powierzchni i jej wybłyszczania. Jest to więc efekt bardzo “szlachetny”. Nie jest bełkotem stwierdzenie, że Tsushimą można wykończyć brzytwę do dobrego golenia. Takie przykłady można znaleźć na internecie (np. pan Ortiz), i z powodzeniem naostrzyć tak samemu. Trzeba jednak uzbroić się w cierpliwość, zacząć od kamienia odświeżonego płytką diamentową niskiej gradacji, kontyować na własnej zawiesinie wykonanej własnym okruchem Toma i kończyć delikatnie na samej wodzie. Właściwości tnące kończą się na granicy jakiś 6 lub 8 tys grit (zależnie od opinii, bo nie jest to wartość mierzona), ale można doprowadzić kamień do efektu zacierania powierzchni (tzw. burnishing). W praktyce kamieni syntetycznych zwykło się deklarować poziom naostrzenia odnosząc się do gradacji grit użytych kamieni. Pomijając nieporozumienia wynikające z użycia różnych skali grit oraz zachwyty nad błyszczącą powierzchnią boczną krawędzi tnącej, to właśnie na takim etapie kończy wiele brzytw. I co więcej, golą skutecznie. Nie ma co jednak ukrywać, że prawdziwe wykańczanie brzytwy, etap Awesado, zaczyna się od Koma, czyli jeden etap w progresji wyżej. Tu sprawdza się zasada: im lepiej wykonany etap poprzedni, tym lepsze rezultaty w etapie kolejnym. Stąd Tsushima jest kamieniem wdzięcznym i przydatnym. Jest bezpieczna, przewidywalna i bardzo jednorodna. Zdecydowanie warto mieć okruch Tsushimy w swoim zestawie Nagur. Jednak dopiero użycie kamienia pełnowymiarowego zapewnia oczekiwany efekt w sposób komfortowy.

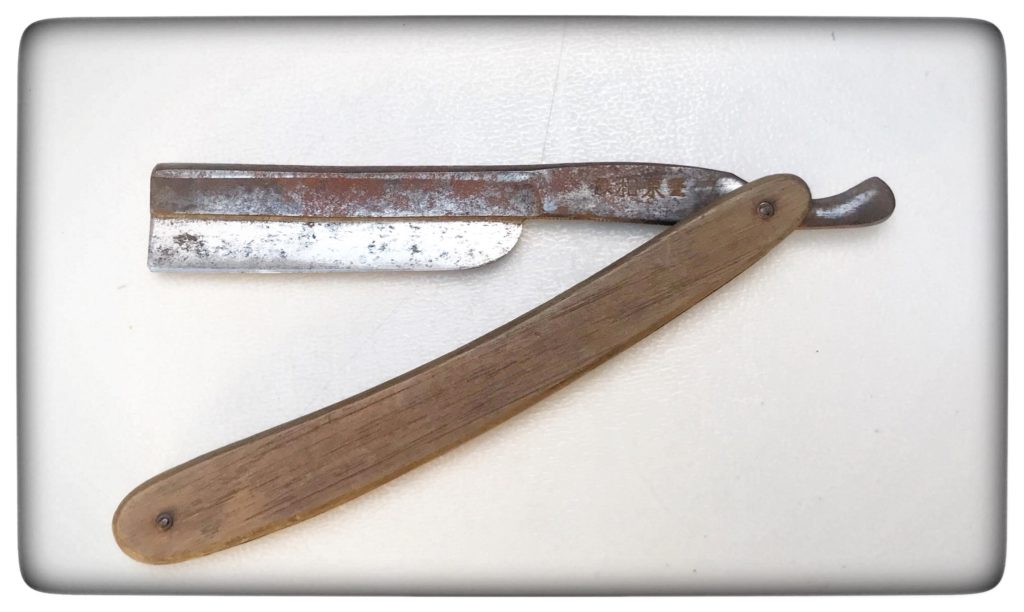
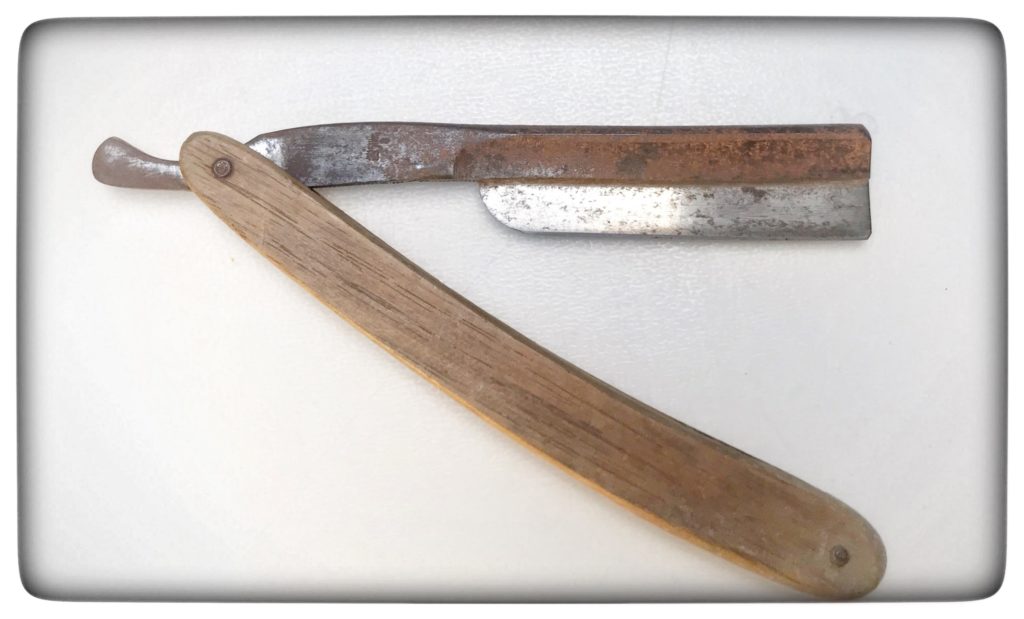
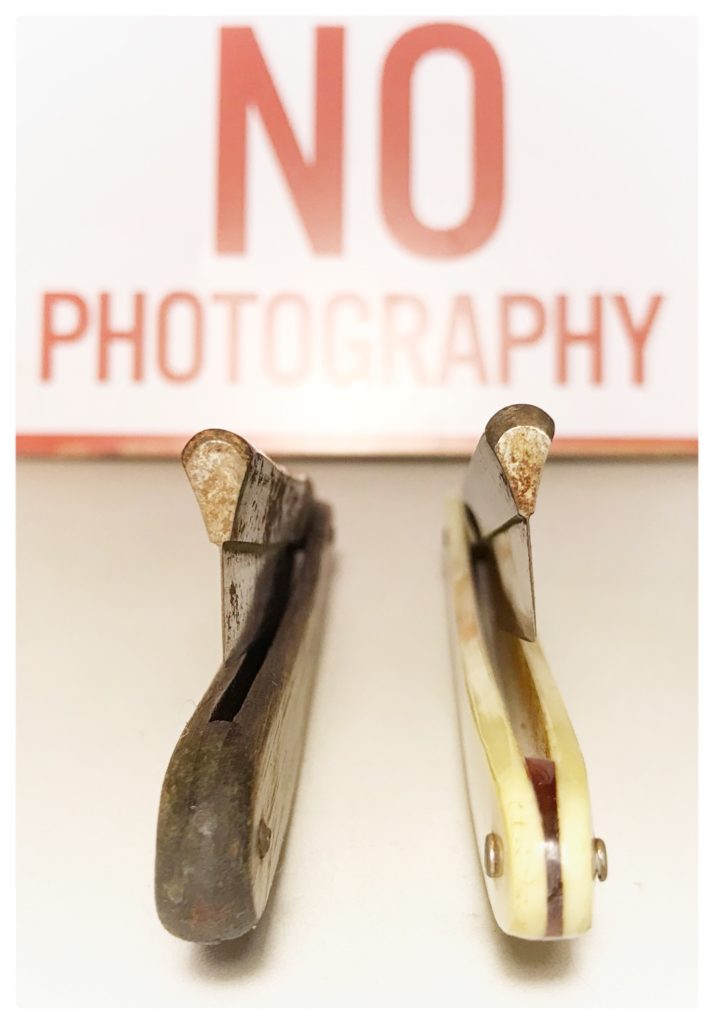
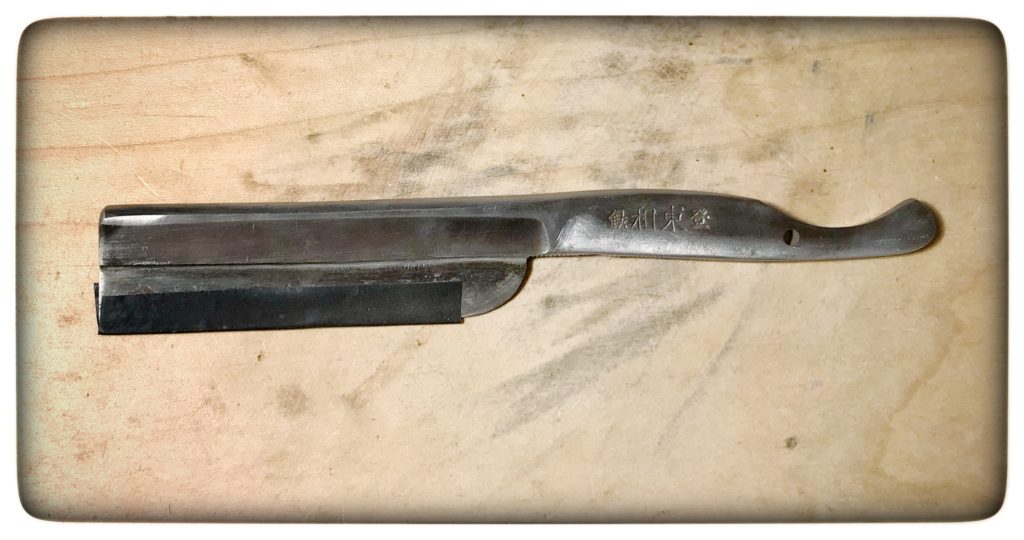
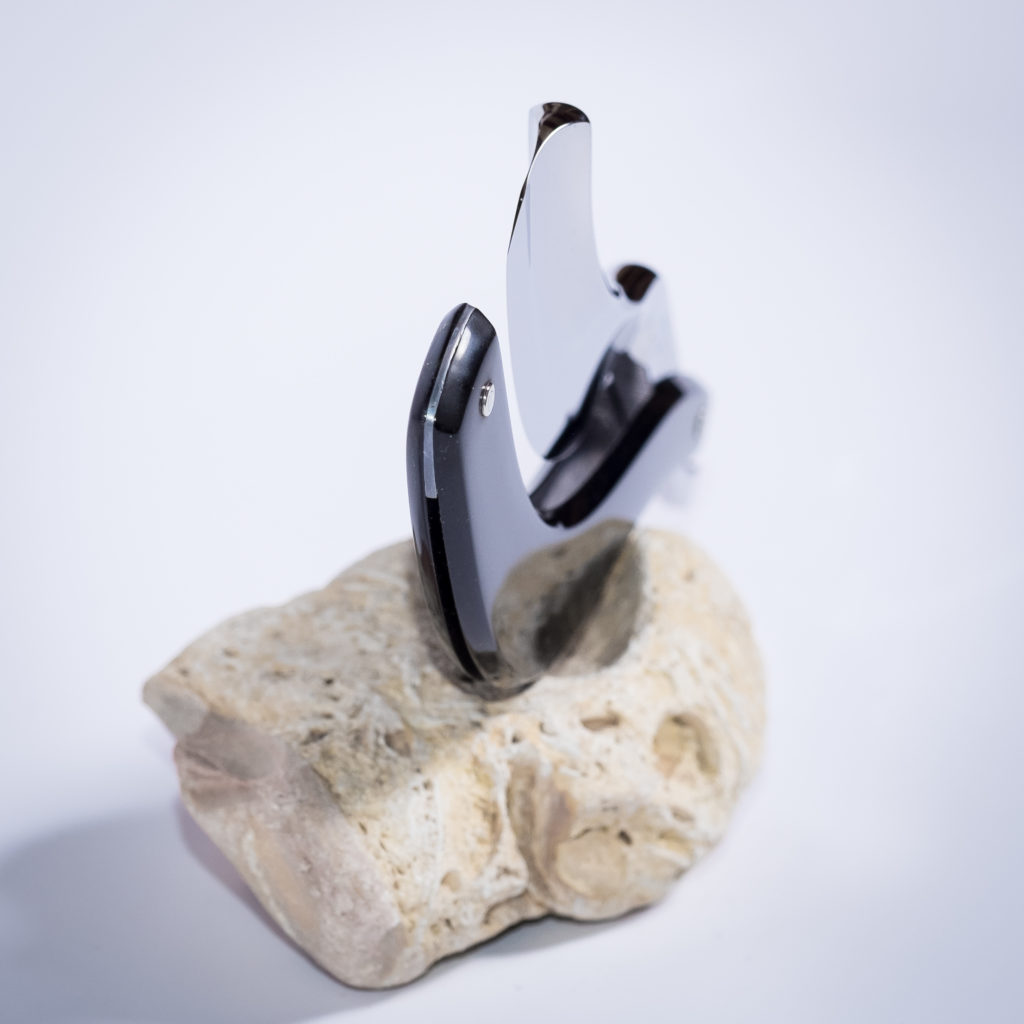
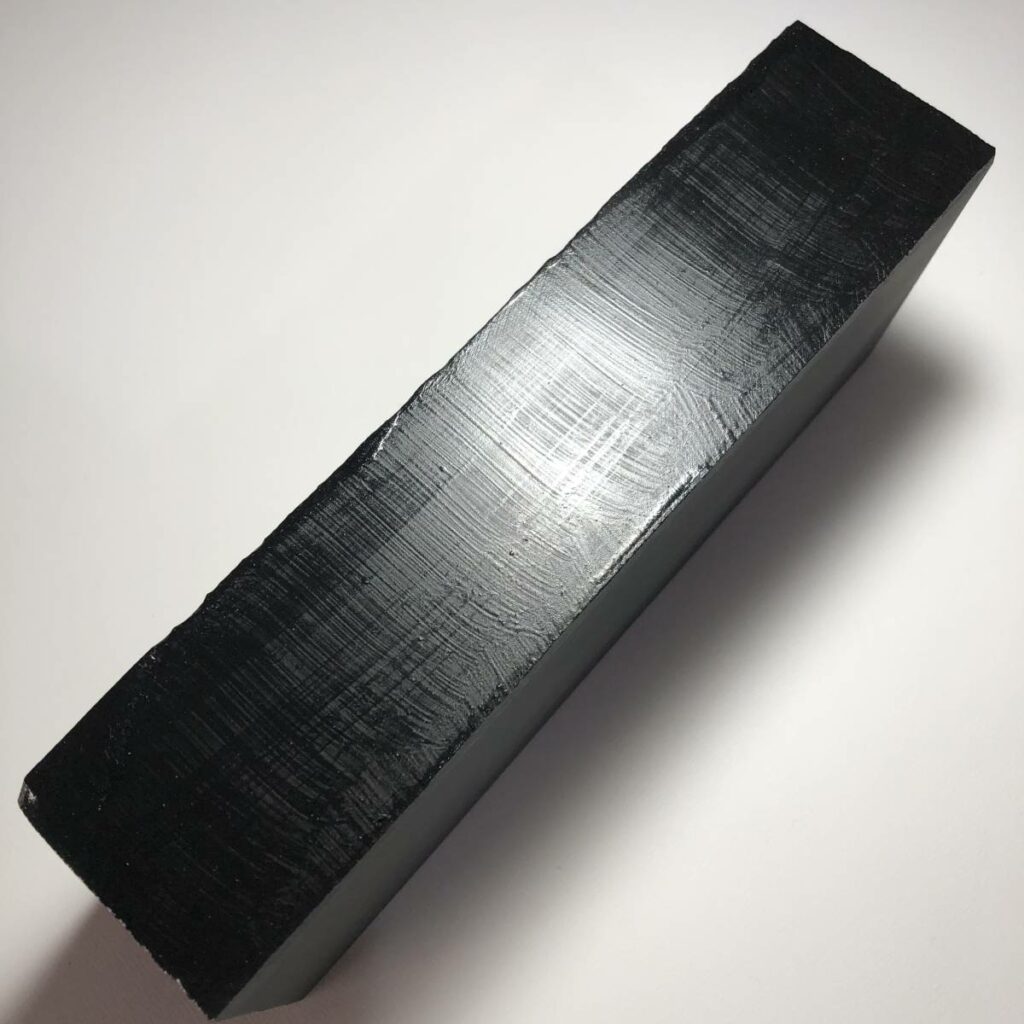
Powyższe dotyczy kamienia najczęściej spotykanego. Posiadam inną Tsushimę (na zdjęciu obok), która jest kamieniem bardzo twardym (oceniam na przynajmniej LV4.5) i w wyższym poziomie progresji. Jak widać na zdjęciu, sprzedawana była wersja nielakowana i cienka (trochę ponad 1cm) bez obaw o pękanie. Czasami zastanawiam się czy to jest ta sama skała. A może jest to żadka Otaniyama….bliźniaczy kamień do Tsushimy o wyższej progresji.

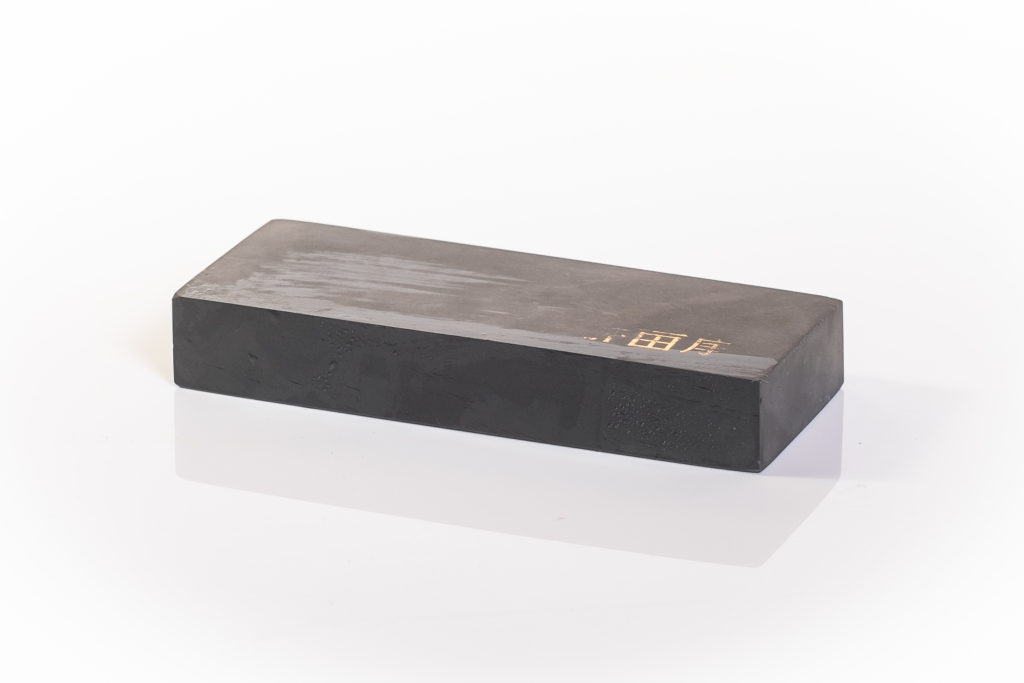
Tsushima jest najczęściej spotykana w rozmiarach 21x8x5 cm i waży sporo ponad 2kg. Grubość 2 cali ma swoje uzasadnienie. Po pierwsze, Tsushima w tej najczęściej spotykanej formie, jest kamieniem podatnym na pękanie. Tak mówi literatura. Potwierdzają to także osoby które znam, a które doświadczyły już tego na własnym kamieniu. Na ewentualne pękanie ma wpływ namaczanie kamienia wodą. Ten kamień “lubi” wodę, choć nie pije tak łapczywie jak niektóre inne podobne kamienie. Nie mniej długie moczenie być dla niego zabójcze. Trudno to sobie wyobrazić ponieważ sterukturą jest bardzo jednorodny i zwięzły. Nie ma żadnych przestrzeni, podziałów warstw ani otworów po gazach (tzw. “Su”). Mimo wszystko, Japończycy, którzy z zasady znają się na kamieniach perfekcyjnie, Tsushimę szczelnie lakują, a czasami dodatkowo lakują po zaciśnięciu jej w papierze ryżowym. Po drugie, jako kamień o miękkim spoiwie, stosunkowo “szybko” się ściera. Może to być zauważalne, przy ostrzeniu dłuteł i noży, kiedy to kamień jest zużywany na określonym fragmencie swojej powierzchni. Stąd łątwiej mogą pojawić się deformacje (łódkowania), które wymagają prostowania całej powierzchni, a więc ścierania jej także tam, gdzie się nie zużywała. Jest to przyspieszony proces zużywania kamienia.

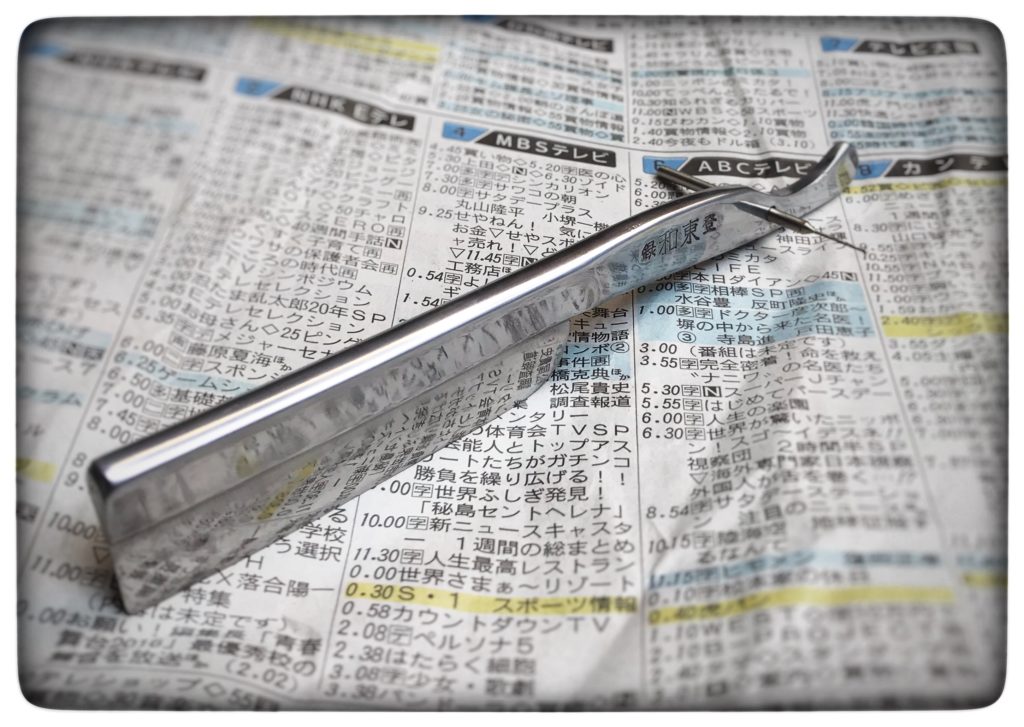
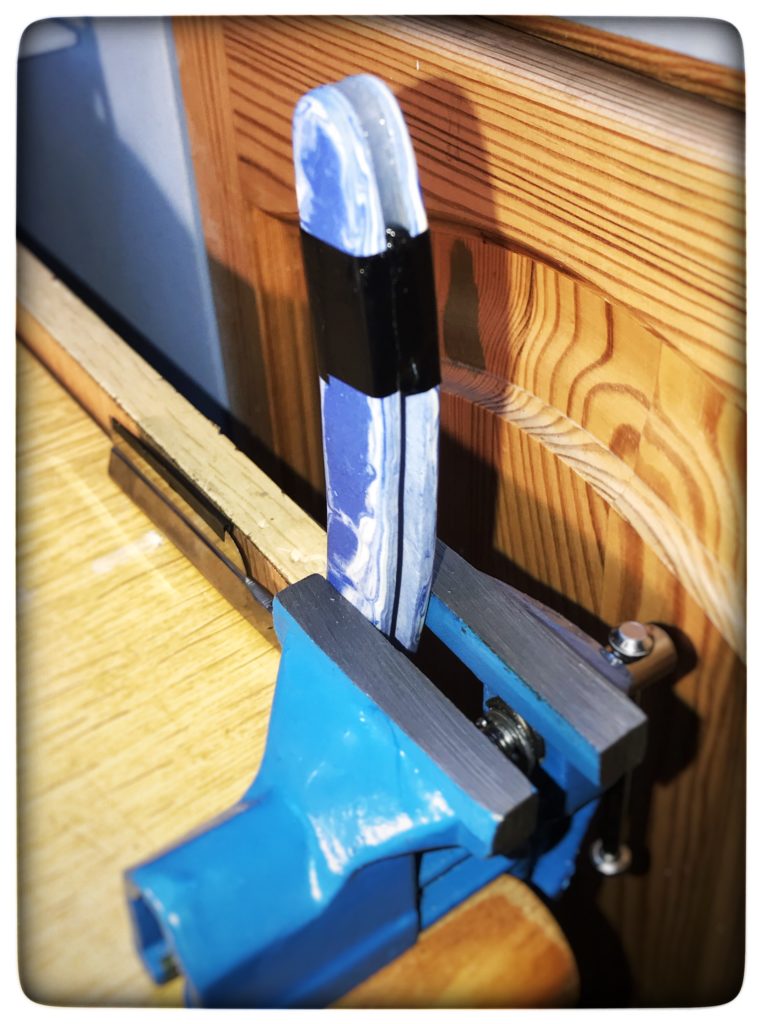
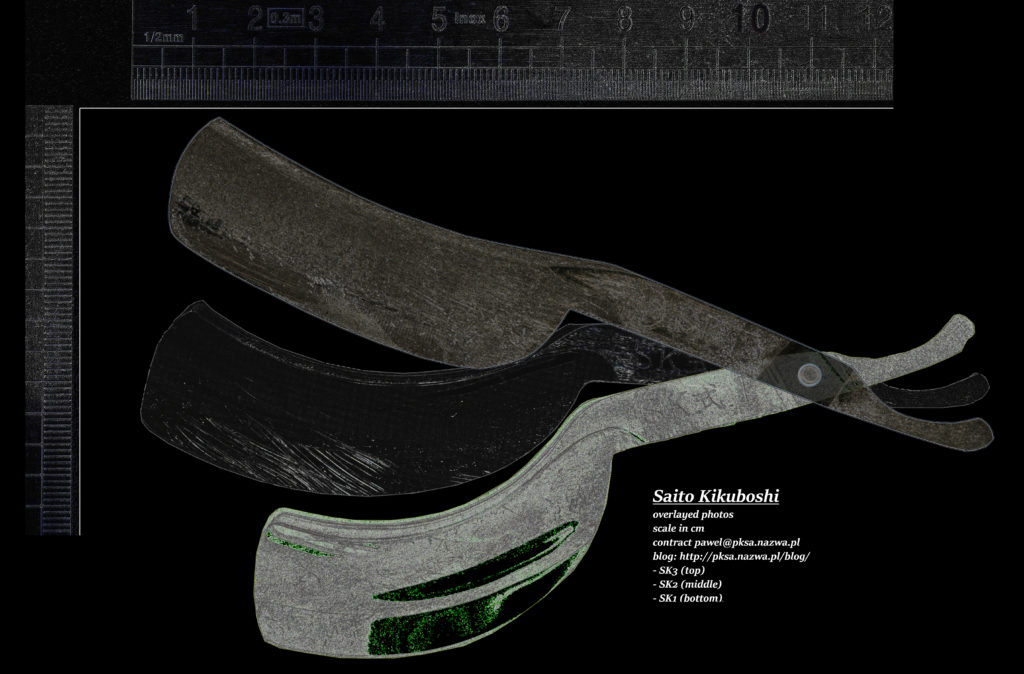
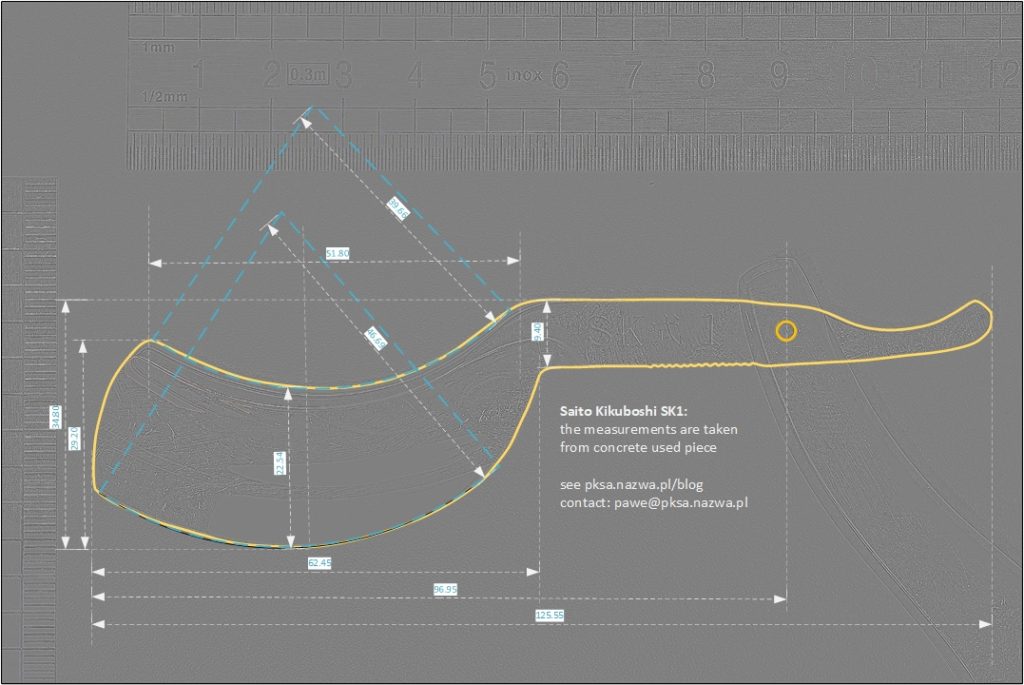
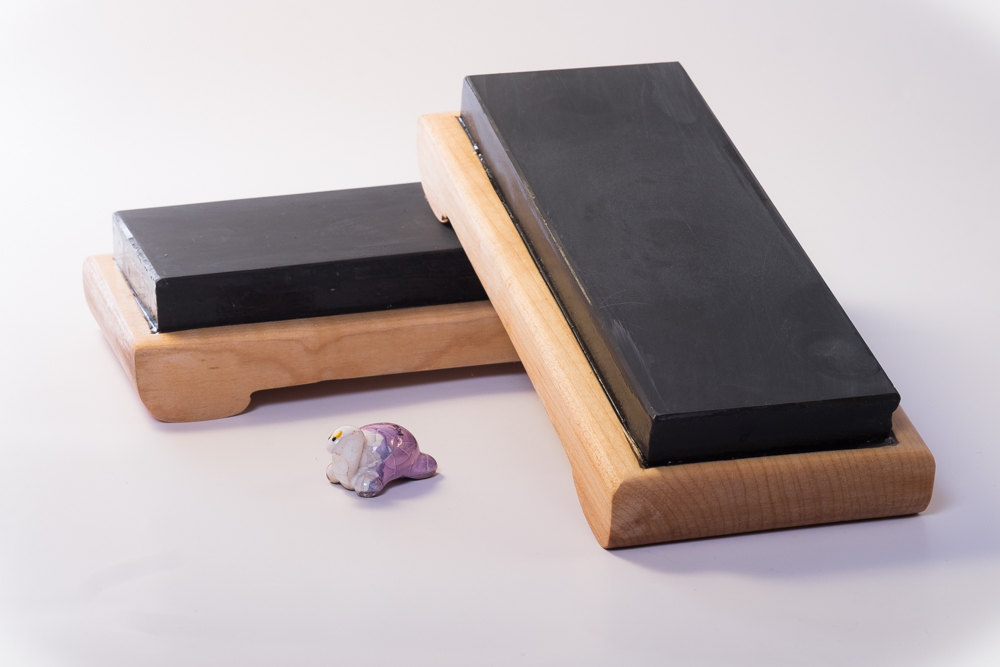
Wiedząc o podatności tego kamienia na pękanie, podjąłem ryzyko rozdzielenia go na dwa cieńsze kamienie. Dlaczego? Przede wszystkim, ani ja w swoim życiu, ani moi synowie, nie zużyliby tak grubego kamienia. Po drugie, nie zużyliby go ponieważ w grę wchodzi ostrzenie wyłącznie brzytew. W takim ostrzeniu zużycie jest znikome, a starciu podlega w zasadzie cała powierzchni. W przeciwieństwie do ostrzenia innych narzędzi, w tym wypadku nie powstają miejscowe wyłódkowania. Po trzecie, w ostrzeniu brzytwy nie stosuje się siły do naciskania narzędzia. Kamień nie jest więc narażony na dodatkowe naprężenia. Po czwarte, ostrzenie brzytwy w jednym stopniu progresji nie jest procesem długim. Nawet jeśli trwa 30 min i w tym okresie kamień jest nasączany wodą, to jest to czas nieporównywanie krótszy od codziennego ostrzenia zestawu 10 dłut i 4 strugów. Kamień nie pękł w czasie rozdzielania. Rozdzielone kamienie nie pękły w czasie obróbki. Dodatkowo zostały dokładnie zalakowane. Aby zapewnić równomierne podparcie, zostały osadzone na drewnianych podstawach. Podstawy są wykonane z bardzo twardego i wysezonowanego drewna jaworowego. Nie powinny się skręcać. Dodatkowo, aby zapewnić równomierność podparcia, kamienie zostały osadzone na poduszce z elastycznego kleju. Jak się to rozwiązanie sprawdza, mogę zaraportować za jakieś 6 miesięcy.

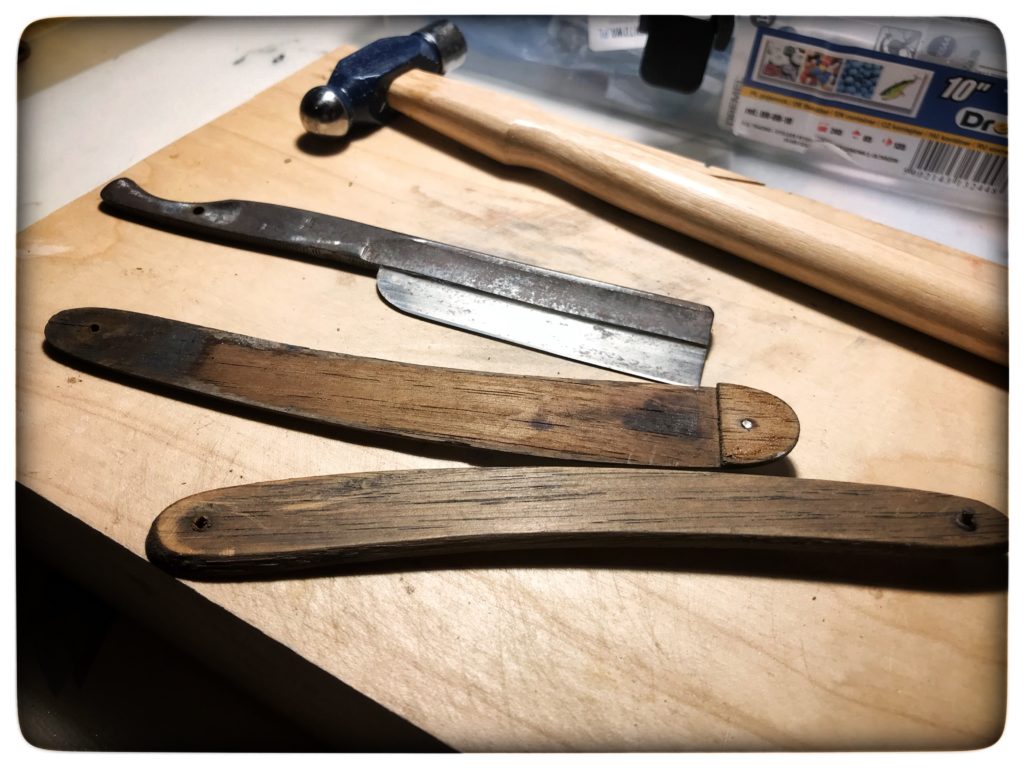
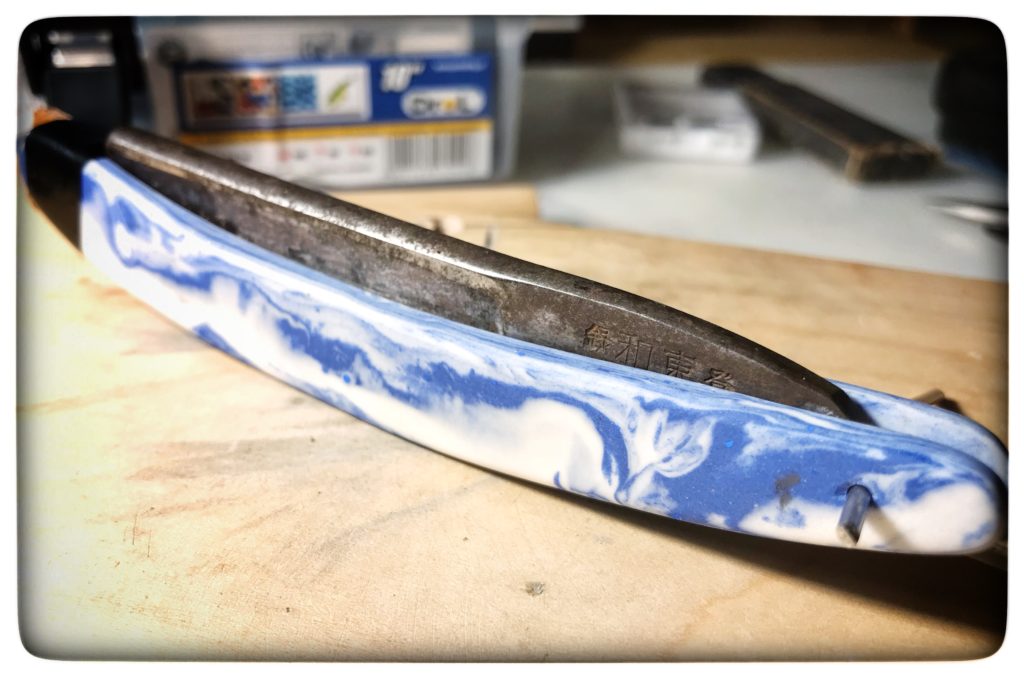
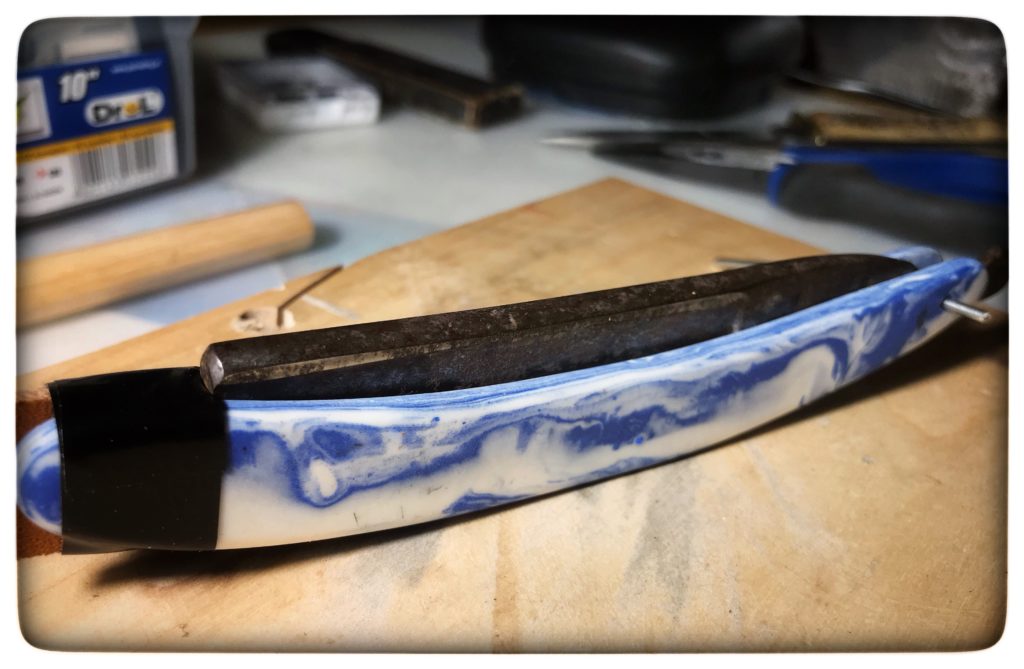
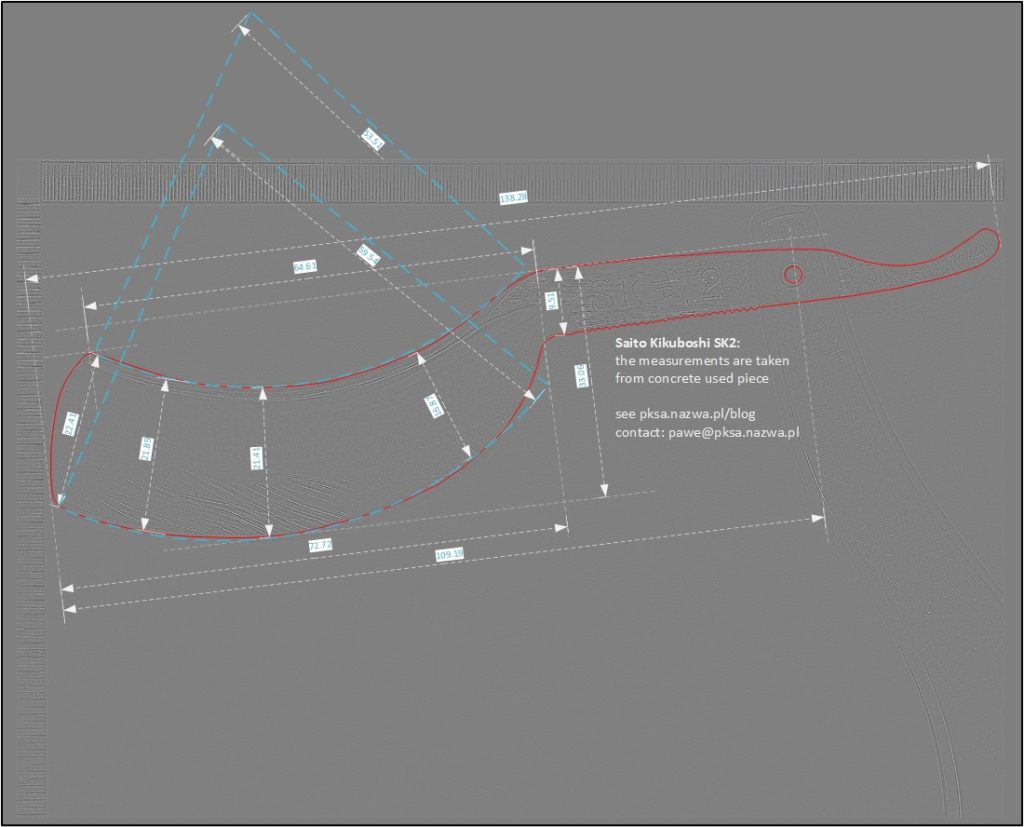
Tymczasem zapraszam do zapoznania się z poniższą dokumentacją tego nietypowego potraktowania Tsushimy.

failures, pottery, shaving

Porcelain scales for razor

In the beginning of December 2018 I published a short story about my attempts to make scales for razor from marbled porcelain. See the article here describing all the challenges and difficulties for making the scales plain and at the exact dimensions regardless the double firing and shrinking. Most likely, it is more fascinating for potters than razor makers. This part is more for the latter group.

Finaly, I have finished with that razor, so I can present complete set (there is another member – marbled mug but I do not use it for shaving).

porcelain set (shaving bowl, AS bottle, razor and brush)

I admit, there are thousands of nicer razors and more practical, and less expensive (if someone would try to estimate costs for commercial quotations). My motivation was different. First, I wanted to have nice private set for shaving. This is obvious. But the leading motif is about the challenge and experimentation. I consider traditional shaving as extravagance itself. So why not to get into development of something which is made against rules and gives fun.

So, what is so special about this razor? What is against the rules? “Normal” typical razor scales are flexible, they bend and lean while moving the blade in the pivot. It is a simple mechanism to centre the blade while putting it safely in between scales and also to block it “half-open” to not flap accidentally and unintentionally. Here, the porcelain scales are stiff and not flexible at all. This fact pushed me to the idea to transfer flexibility into other elements of the razor. I decided to make the wedge elastic and mount the pivot pin with spring washer (self made). That also resulted in lack of bottom pin, which would make the whole construction again not flexible at all. The result is very satisfying. The blade centres nicely, the wedge keeps both scales integrated, the balance between smooth movement of blade and resistance is “regular”, the blade can stop steady in half-way, the blade can be opened at any angle.

Another positive surprise is that, regardless the depth of the scales, it is not heavy. The sales do not overweight the blade when manoeuvring in open.
I must admit that in the beginning I was afraid of the risk of breaking the scales. So, I kept the depth dimension of the sales quite big. It is that smooth-thin as in many plastic scales. I watched carefully when hammering the pin (it is not any prefabricated pin but a regular steel rod with washers). But then later overlooked my son who wanted to follow me in pinning and was hammering the scales, not the pin. It survived with no damages. Now I can regret that I did not flatten the scales more. Maybe, some time later….in future.

starting point – old japanese frameback razor
old japanese frameback razor
old japanese frameback razor dismounted
razor dismounted
matching
cleaning and polishing
reading newspapers
assemplign toghether, glueing the silicon and transparent wedge to assure flexibility of the construction
using it on daily basis, shelf in the bathroom
shaving

Saito Kikuboshi SK2 and family

Finally I’ve got all of them. New SK2 arrived. Seems to be in very good condition. But before I can make nice photos, present them and then try in practice, it deserves some refreshing. I promise to do so and then comment. I hope that there will be no change in the overall conclusions comparing to what was reported in the other post on SK1. In fact, SK2 is close to SK1. A bit larger with more moderated curve. But the type is almost the same. It may be that this is a good compromise and balance between SK1 and SK3 which are on extreme sites.

This gives the possibility to compare all tree Saitos. See the below picture. There are photos of all 3 Saitos, in the same scale, put into the axis of the pivot whole. I hope to publish here the exact dimensions, including curvatures.

All 3 SKs overlayed in proportions

I decided to take some measurements of the geometries. In fact I have seen some custom-made razors, polish and japanese, which follow the original SKs but the difference is always appealing. So, what makes the difference?

Below, you can see SK1 and SK2 measurements. They might be not exact, as they have been taken from already used guys. Let’s also remember that SKs were made by different makers. I would point out that SK2 is more than 1 cm longer in blade itself. While the radius of the curve of the edge is more than 1.3 cm higher. This is a significant difference. But I believe that what is the most decisive is the dislocation of radius for internal and external (top and bottom) curves. In both SKs they are neither horizontally nor vertically aligned. It makes tremendous difference on the geometry of the hollow. Both are extra hollow with belly so the hollow belly line must be again dislocated (not symmetric) from upper and bottom edge. This must be hard for making!

saito SK1 from Pawelpksa
Saito SK2 by Pawelpksa


shaving

Saito smiles to you

Saito SK1 smiles to you. The smile is deep and extraordinary. Surprising, the shave itself is smooth, easy and “dully” normal. However, yet exciting and more precise in shaving than any other common straights.

I got fascinated with SK1 Saito Kikuboshi razor since the very first time when I saw. It seemed so much not available to me because of the price and unavailability. Along learning about its origin – all that about Japanese barber master Kikuboshi and in general about mastership in crafting Japanese traditional razors – Kamisori, my fascination and believe in its quality was merely increasing.  As far as I know there not many of them in Poland – for sure 2 pieces. YouTube offers some clips made in Japan, Russia, Finland and US. Not many. Both Polish makers of custom razors have made single pieces following this specific design (see the one from Topek and the other from Cichy). Hence, the price reflects both – quality and small number of them offered on the market.

I will be not repeating its history and markings. What  is worth mentioning is that there are 3 profiles of SK : 1, 2 and 3. While SK1 is the extremely curved the SK3 is still smiling deep but not that shocking deep. SK2 is in between of them regarding the profile (read about it here). I hope to present all 3 types in some time. Change in the profile affects the height of the blade which subsequently is reflected in the change of the hollow (see the photo below). SK1 comes with its amazing hollow ground with belly. Additionally I can share that  It was discovered during the renovation that there are extra 1-2-3 markings hidden on the blade under the scales at the pivot. There is a nice website documenting that all.

In this way I was somehow inclined to seek them at origin, in Japan. Thanks to my colleague, whose wife is Japanese, it became much easier to me that thought before. SKs are available there more often than in other places but it is still very rare and limited. In 6 months I discovered 3 SK3, 2 SK1 and 2 SK2. Which does not mean that I wanted to buy all of them. While by rule they are less expensive there, there are still substantially costly. However, nice SK3 can be bought for $70. It happens that they sell whole gear sets from old barber shops and then the price can very attractive But you get it in bulk  with many items that might be out of your interest. The best is to be there on the spot and visit markets and antique boutiques.

Unpacked

All that means that renovation becomes a must. Although I admit that in essence Japanese take care about such things while using, packing standards and fidelity of the description when selling is higher than in Europe. Mine  was renovated by Lewy (drop by to knives.pl forum). As you could see in the other post he did excellent job with my F.Reynolds. No hesitation that he can do such a good job with this one.

In fact he renovated SK1 and SK3 in one shot, the latter was bought by me for the other college – MJW. During that renovations, Lewy discovered the extra hidden markings at pivots and also the fact that both had unsymmetrical pin wholes at the pivot. It was not visible, but as such normally, it is considered as a imprecision, if not a defect. Conclusion might be that we seek perfection in craftship of treser piecem while in essence they were manufactured for daily use. Nowadays traditional shaving comes as extravagance and this is why we look for features which are not essential for use. Saying so, in no means, I depreciate the attractiveness of SKs. The blade is made for “simple” beauty and extreme effectiveness in shaving.

Below SK1 with extra marking, above Cichy custom razor.

Here I can mention that scales of  my SK1 came with beautiful deep green (like bottle glass) cast. I felt lucky and start preparing a set of leathering scuttle and brush handle. Unfortunately, green turned to deep glossy black during the renovation. Most likely the scales are made of a material which ages (probably oxidizes in sun light) with changing its color. You can see other pieces on the market with brownish scales. Probably that is the same effect. My SK3 scales are of different ferry tail.

Lewy made an excellent job. No signs of use or post rust craters. It surface is smooth and elegant. See the photo below, it turns as a mirror.

Newspaper which came with the razor.

I cannot say much about the steel used for Kikuboshi razors. If you read it and you can contribute please post comments, maybe some links regarding the steel used. In the other pieces I can see the engraved note “Swedish steel”.

Honned but not stropped yet

When it comes to shaving I have to say that I was ready to admit in advance that SK1 might be more museum  exhibit while  SK3 is designed for use. How the hell to shave with such a sickle! I was wrong, fortunately fully wrong! First of all it is much smaller than the impression learned from photos. In fact it is tiny piece. It became so appealing to me in context of different razor. I used to strop my Filarmonika 14 with no specific impressions. But then, just after stroping SK1, the usual Filarmonika turned to be giant. 

Surprisingly, shaving came “dully” normal. No need for any specific technique or directions. Not at all. 2 runs, as usual, where fully sufficient. The same routine. I expected SK1 to be typical loud razor. Surprisingly the echo given by it is not that loud as from other full hollow 8/8. I suppose that the blade profile itself and the belly stabilizes it very effectively.  

The deep curve, enables additional natural move of the wrist which is not possible in straights. It is subtle and tiny, but it helps. I can say that due to that additional gesture, shaving seems to be more precise.

Does shaving take more time? Compering to common system safety razors – no doubts – much more. I consider traditional shaving as extravagance by definition. So there is no surprise. So why to do so? Myself I can say that I gain a kind of allergia to many mainstream behaviors and daily routines. But that is different story, subject itself. When comparing shaving time of SK1 and Filarmonika – there is no obvious difference in favor of the first or the latter.

The only thing that I found cumbersome is the bloody scales, precisely its position when stropping. Stopping the smile is a bit different from other straights. An extra dimension in the move is needed. It is not difficult but requires a bit more attention. The protruding handles do not help in this operation.

I consider it still “new” and fresh. Currently it is being used for daily shaving.

Please share your opinions and resources.