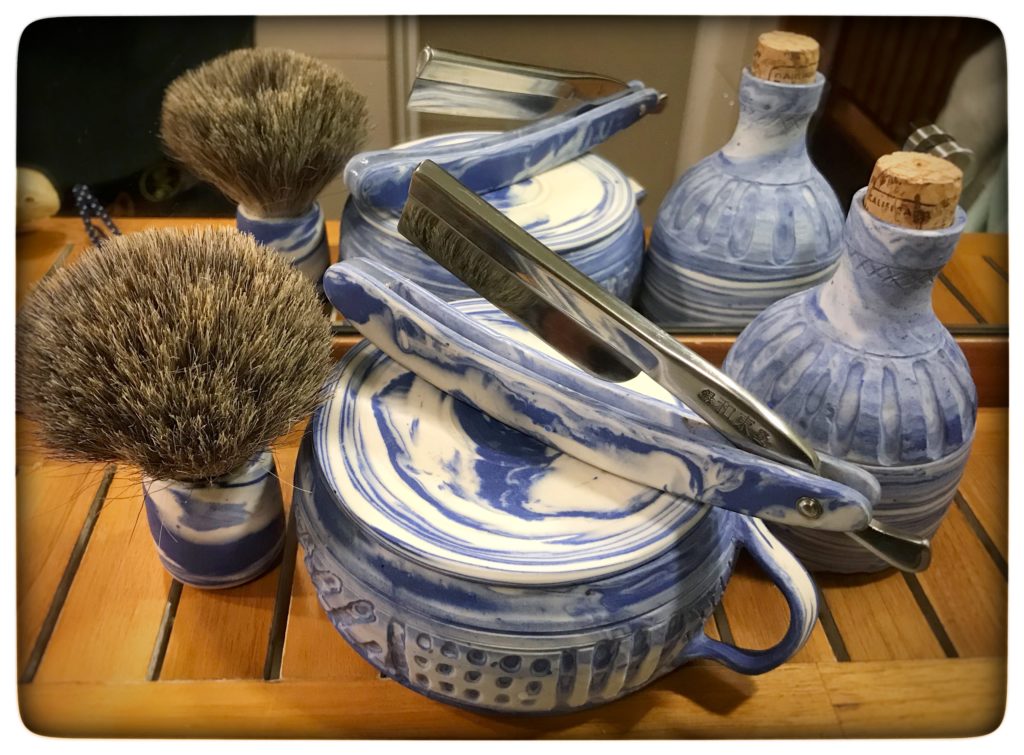
After several trials with agateware I can share some lessons learned and sum up the experience until now. There are other sources from more experienced potters. Here is my way and what worked for beginner.
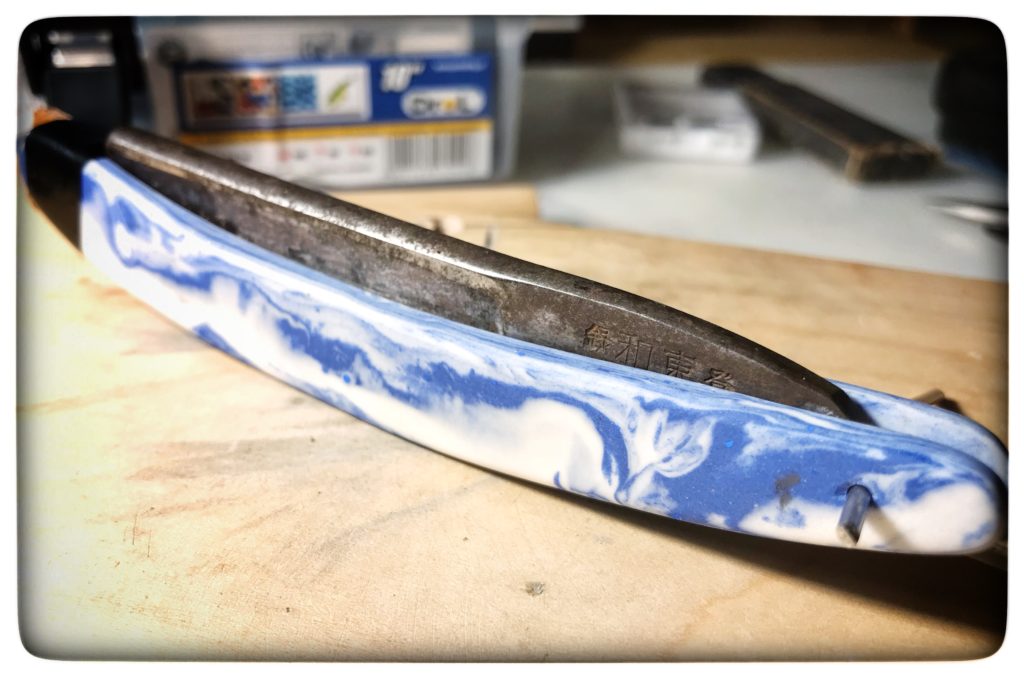
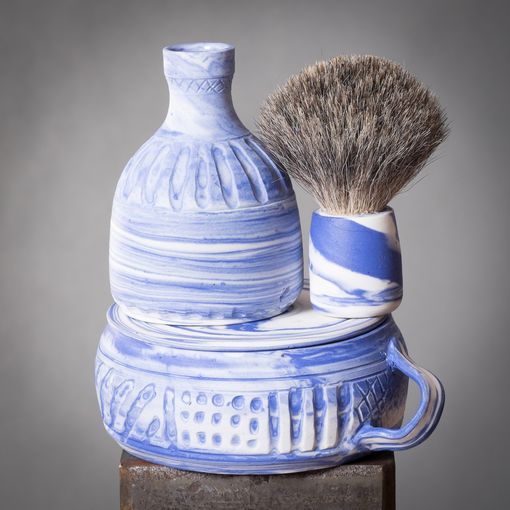
What is agateware? I just wanted to get an effect of colored body with traces of other color to match to other objects (in this case to handle scales). Other look for marbled effect. But sometimes people want to have full spectrum of colors in a single piece. That all is about the same – mixing colors in the clay body. Trying the same with glazes does not give any decent results. Depending on the actual need, it may be agateware (when the colors are mixed in wedging) or nerikomi (when the colors are layered manually). All the terms refer to natural objects – agate stone and marble stone.
+
Selection of colorants
First, I started experimenting with common metallic oxides: red iron for brown and cobalt oxides for blue. These are the most common components for any potter. Being pleased by results, especially with cobalt, I started looking for more specific colors, deep black and pure red. This led me to the selection of row pigments. They are widely available from ceremic suppliers. The results were nice but what turned my attention to the fact that red pigment was not really offered. When I found it at on the stock, I discovered a caveat lable “contains cadmium”. In meantime, I used chromium oxide to prepare green colored clay. But fortunately have never made use of it. Not because of the color but because of its poisonous characteristics. Not being sure how chromium behaves and why cadmium requires a warning message, I asked people in ceramic forums how this may affect firing atmosphere in the kiln or change colors of other pieces. I learned from forum colleagues a lot.
Yes, this is something for consideration. Cadmium is “bad” for people’s health and difficult to get rid from organism once contaminated. This turn my research, towards other pigments and study of their safety and technical specs. They also contain heavy metals and fractions of chemistry, which is poisonous. This was neglected by me at the beginning. My simple assumption was that my contact with them is very limited. Additionally I still had in mind how many traditional potters were making their own lead-based glazes. It took a bit of time to realize that the direct contact with them is not limited to some specific phases, but remains almost all the times in studio. Direct contact takes place while mixing and throwing, even when wedging, but also in trimming, drying, cleaning. In fact it spreads out as a dust all around. Watching carefully, after some weeks, I could see the dust everywhere. When cleaning shelves, floor and seats, everywhere. It is not merely the bad fraction. But if regular dust spread out so much, the bad components go togheter with the rest. Obviously it does not stay on the shelves only but comes into lungs when briefing. I haven’t noticed that before. In my case the enhanced due to circulation of air, I have main house heating installation in the studio.
So, that attracted my interests to modern pigment with the heavy metallic parts encapsulated in cirxonim cristals. Maissons Stains (well known on US market) defines it as more advanced product of synthetize e.g. for yellow “reaction product of high temperature calcination in which Zirconium (IV) Oxide, Silicon (IV) Oxide, and Praseodymium (III, IV) Oxide (Pr6O11) in varying amounts are homogeneously and ionically interdiffused to form a crystalline matrix of zircon”.
The most important is the fact that it it human safe. For more you can read safety sheets for each of colorants.
I decided to use Terra Color “farbens” which are well known locally. I had to order them for Germany, but it comes much cheaper than importing Masson Stains from UK or US. They are at the same level of technological excellence. See their catalog in Terra Color catalogue.
Mixing pigments
There are various methods of mixing pigments with the body. As can be discovered from youtube, some people add colorants as dry powder when wedging the clay. There are very educative and inspiring videos from Ceramic Jim. Others, like Karans, disolve stains in water with dry pieces of porcelain (my hint – add there a bit of vinegar), mix it with porcelain and then dry to get final moisture. There is very nice video from her on preparing the material for marble effect. See another approach to marbelize clay in this video.
I found other approach (named by me a “dumpling technique”) from Joey Agcopera as best for my purpose. Joey makes a dumpling of clay filled with dumped colorant powder and mix them at hand. You can see Joey doing that in his video. It worked for me because I wanted to make many small pieces of different colors, not just a single color in large volume. It is a quick and sufficiently effective method. I haven’t noticed any inconsistencies in saturation or moisture when following this approach.
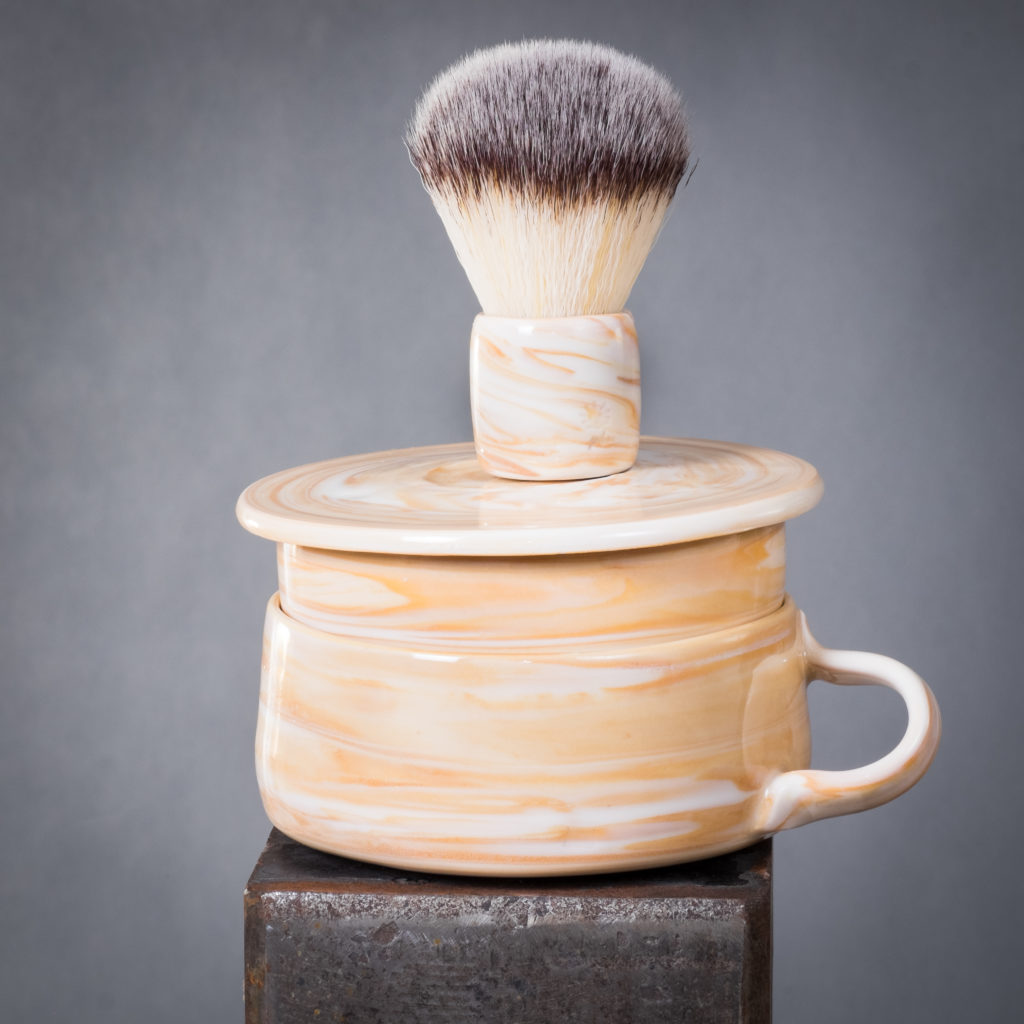
In my experience, proportions of the pigment and clay is not that critical. Strange, but I tried with 1:13 and 1:8 with the same results. Many depends on the colorants itself. The above applies to red and black which are highly saturated by default. Maybe it matters more for more subtle colors. For yellow I applied Ochra pigment with 1:10 proportions. Experimentation is the key (I hate this slogan, but it is true).
Body material
No surprise and no doubts – white porcelain is the best material for coloring. Its white color is the starting point to get predictable colored bodies. I tried with some other clays, e.g. Witgert 011 Mont Blank. From the color perspective it was more than fine. But coloring is just a part of the equation. Then, it comes to shrinking ratio and fire temperatures. The most important is to have the body and colored clay from the same material. Otherwise difference in shrinking and firing temperature destroys the form. I decided to stay with just porcelain.
However, colorants themselves change the clay characteristics a bit. Here is an example of a colored piece made of the same porcelain used for all the colors, thrown and the nicely trimmed to get smooth surface. What happened in firing – the layers shrank differently changing the smooth surface into irregular. It cannot be seen easily from picture (unless zoomed in), but if you touch it you can feel every layer with distinctive borders in between.
Wedging and throwing
Wedging is needed as usual, but shall be rather conservative. However, I try to roll the clay by hand to all of 2-4cm in diameterl and add colored clay as another thin spaghetti of the same length, then ball it back and start wedging. Some 5 runs of wedging is sufficient for me.
There is nothing special regarding throwing. The only rule is to have both – main body clay and the colored clay in the same moisture. If not, that colored parts and core body run different which may lead to regular throwing failures (collapsing, thick walls, breaking or losing the form). How to make the same moisture – wedge the body and colored clay well in advance and leave for “synchronization”. A day was enough in my case, but 5 would be perfect.
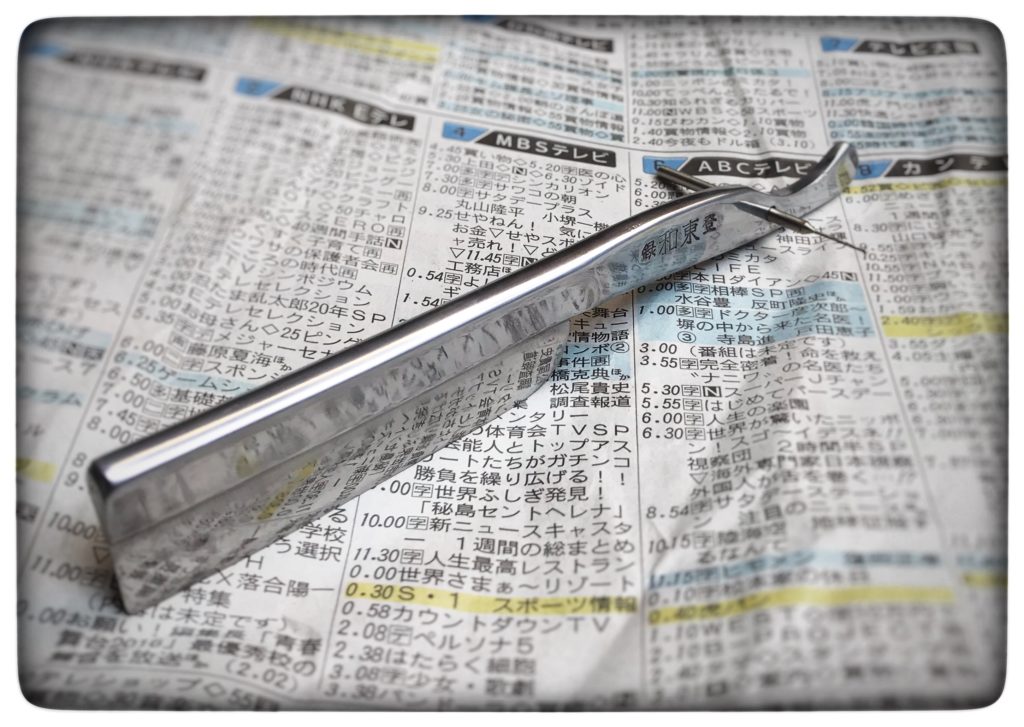
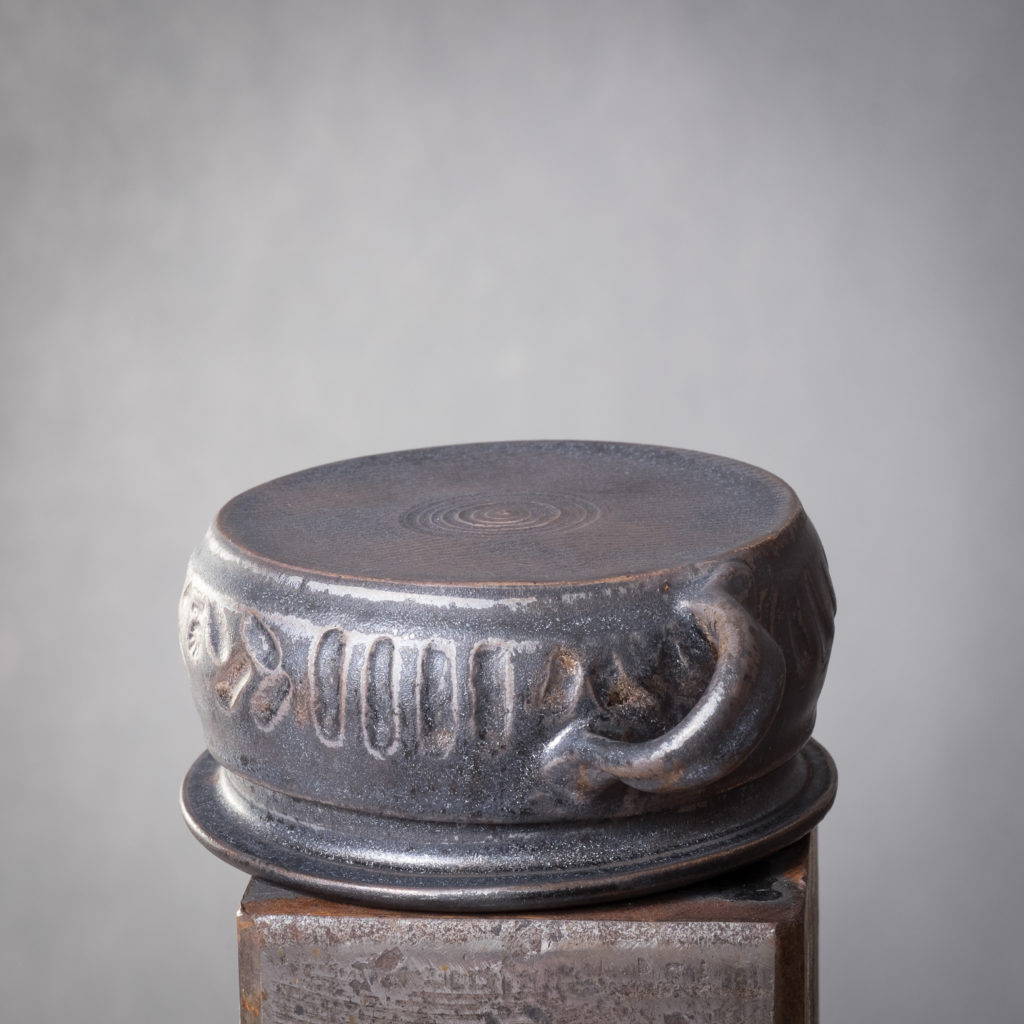
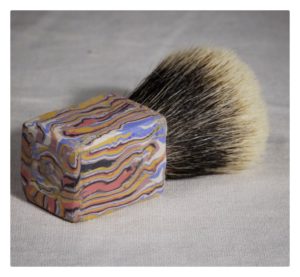
The other lesson is that there is no need for conning clay too many times. It gets more flexible but it mixes too much. Especially when you apply many layers into a single piece, there is a risk of … getting a single color which often is not attractive at all. See the below example – compare the handle with the body – it was the same starting set of colors.
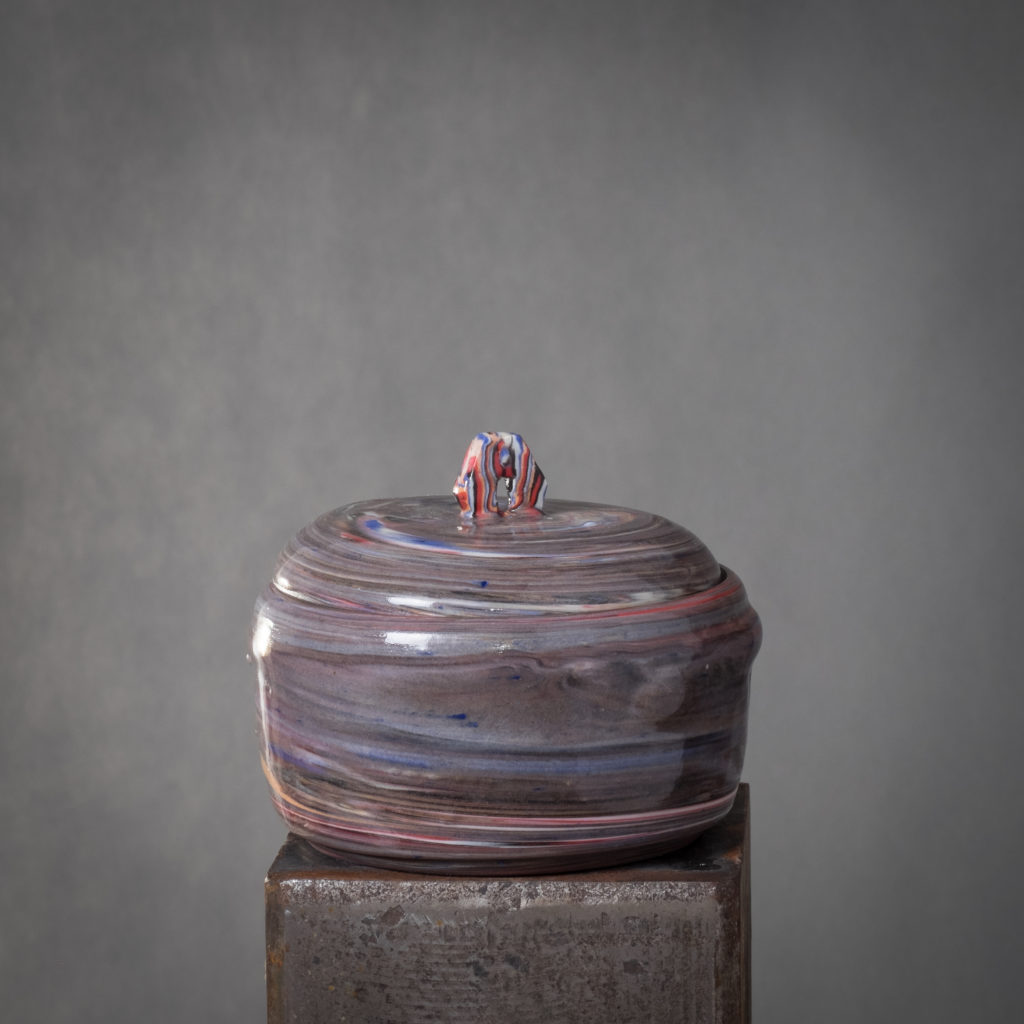
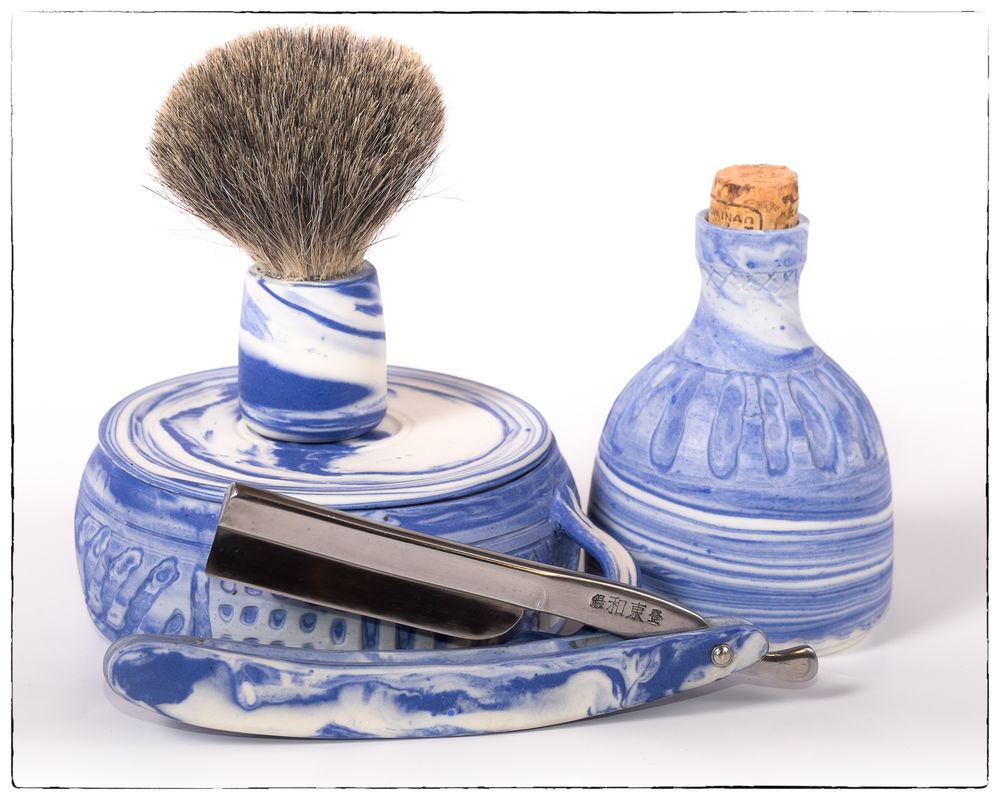
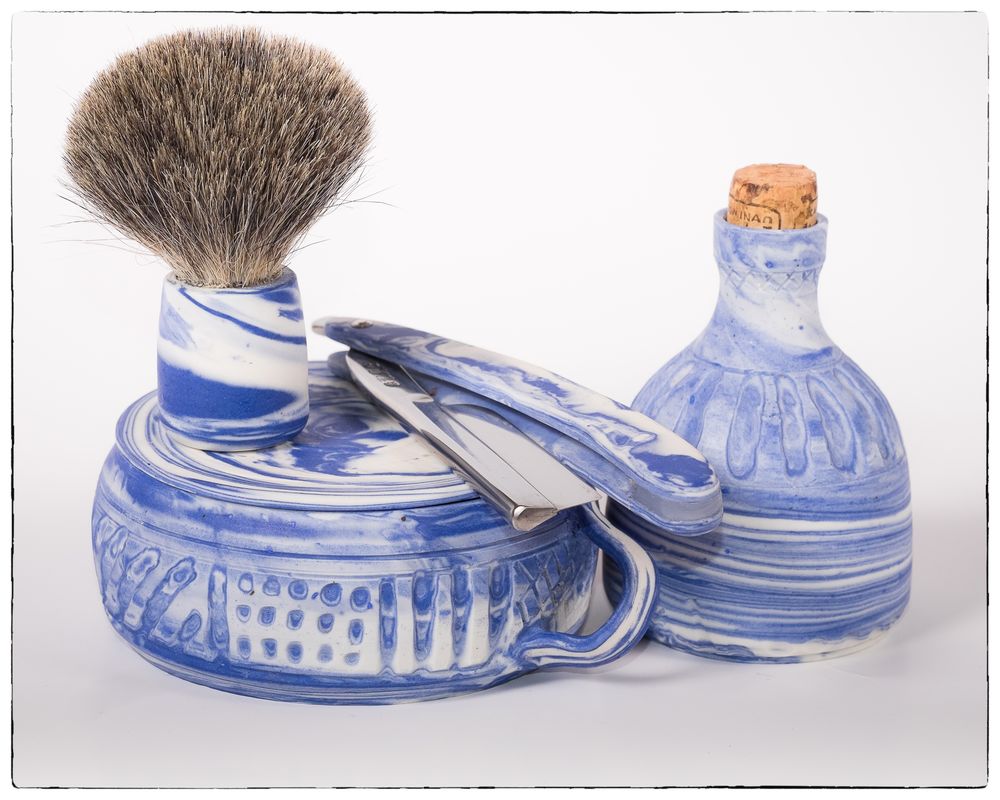
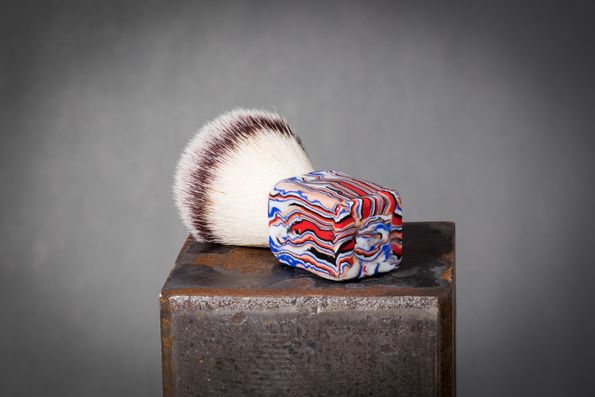
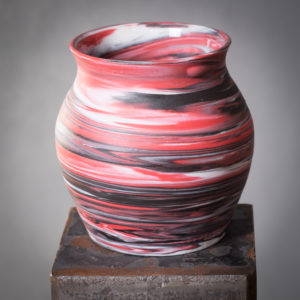
For my purposes, I tried to have a single leading color for the base and then add other colors in proportions 1,3:10. See the below examples for leading color black red traces.

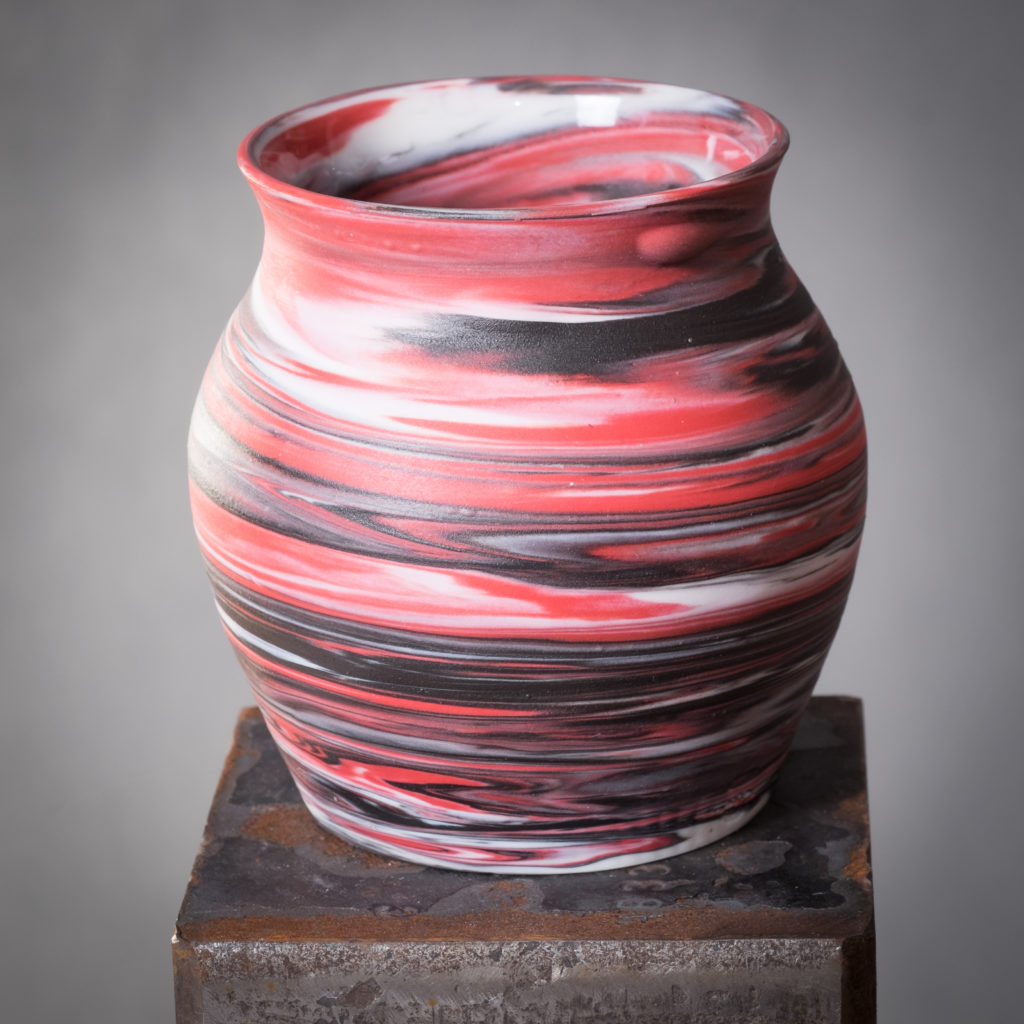
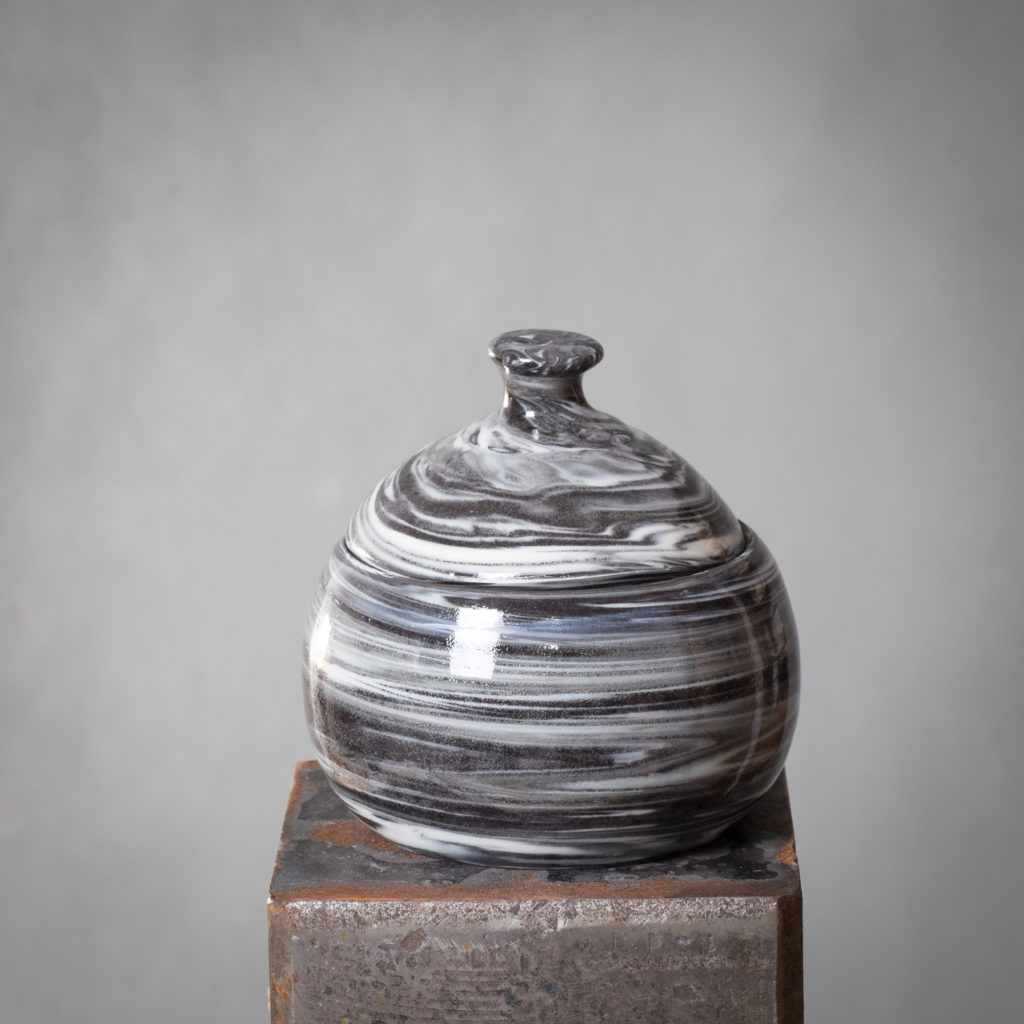
However, proportion of colored clay depends much on the desired end-effect. Here is an example of marble effect. The proportions are almost equal. It might be prefered for some objects.
Trimming and fluting
I do not trim always. In many cases the foot is not needed neither estatically nor practically. But in this technique, trimming is warmly welcome. It exposes and cleans up the colors. It might be that the layers are not really visible at all at the last phase of throwing. The colorants may get into slip and run around the piece making it grey or pink instead of black or red accordingly. First of all clean the slurry with sharp edge (sponge is not sufficient) but metal or plastic ribs make the work properly. Then, you will be able to see the actual colors and patters. But trimming reveals the layers even much nicer. It makes the borders between layers sharp and much more irregular.
The next step in sharping the layer borders for more contrast and making it much more irregular is – fluting. It makes the color pattern unpredictable. It may turn from spiral form (as and effect of wheel throwing) into vertical lines in an extreme case. This is because the colored layers are distributed in the walls not only horizontally but also vertically. So, what is white outside may be colored inside or even with different color a bit deeper in the wall if you decide to use more than 2 colors. I cut the edges or make fluted patters with cheese strings and wire-end tools. The best is to do it at the leather-hard state of the clay. However, it can be done even a bit later but then with different tools. See Simon Leach while fluting his pieces.
Saturation
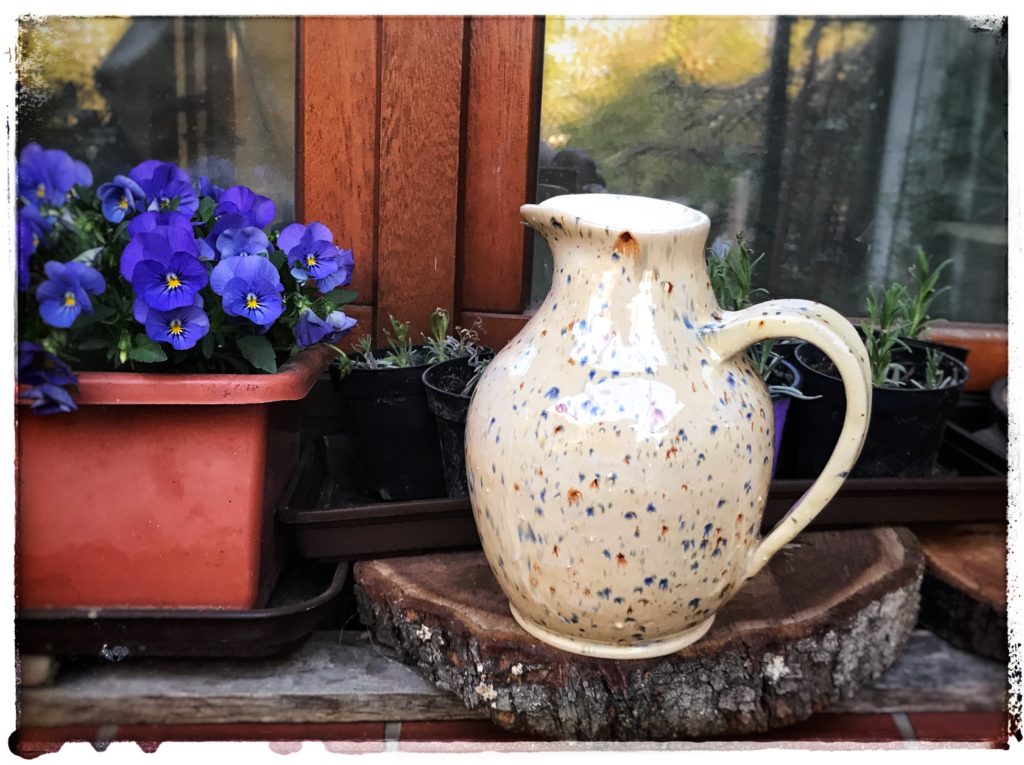
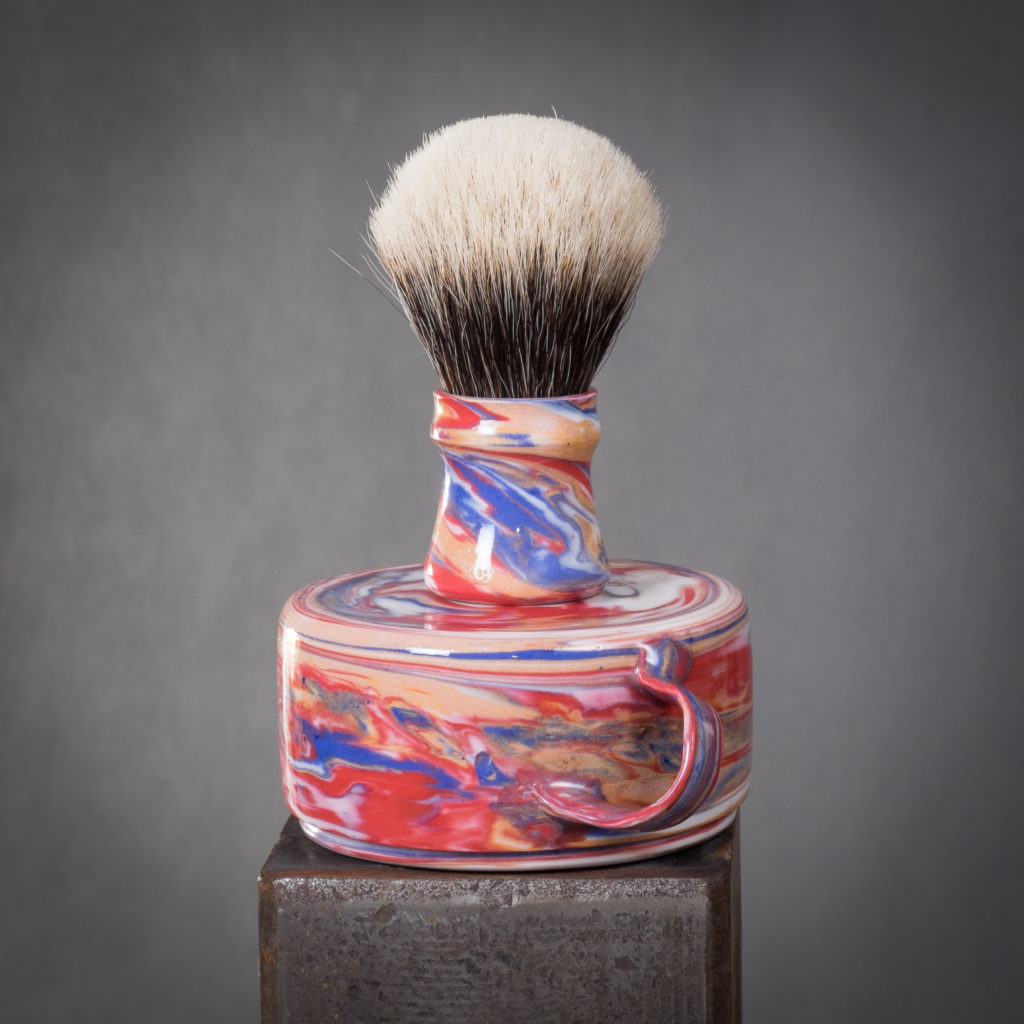
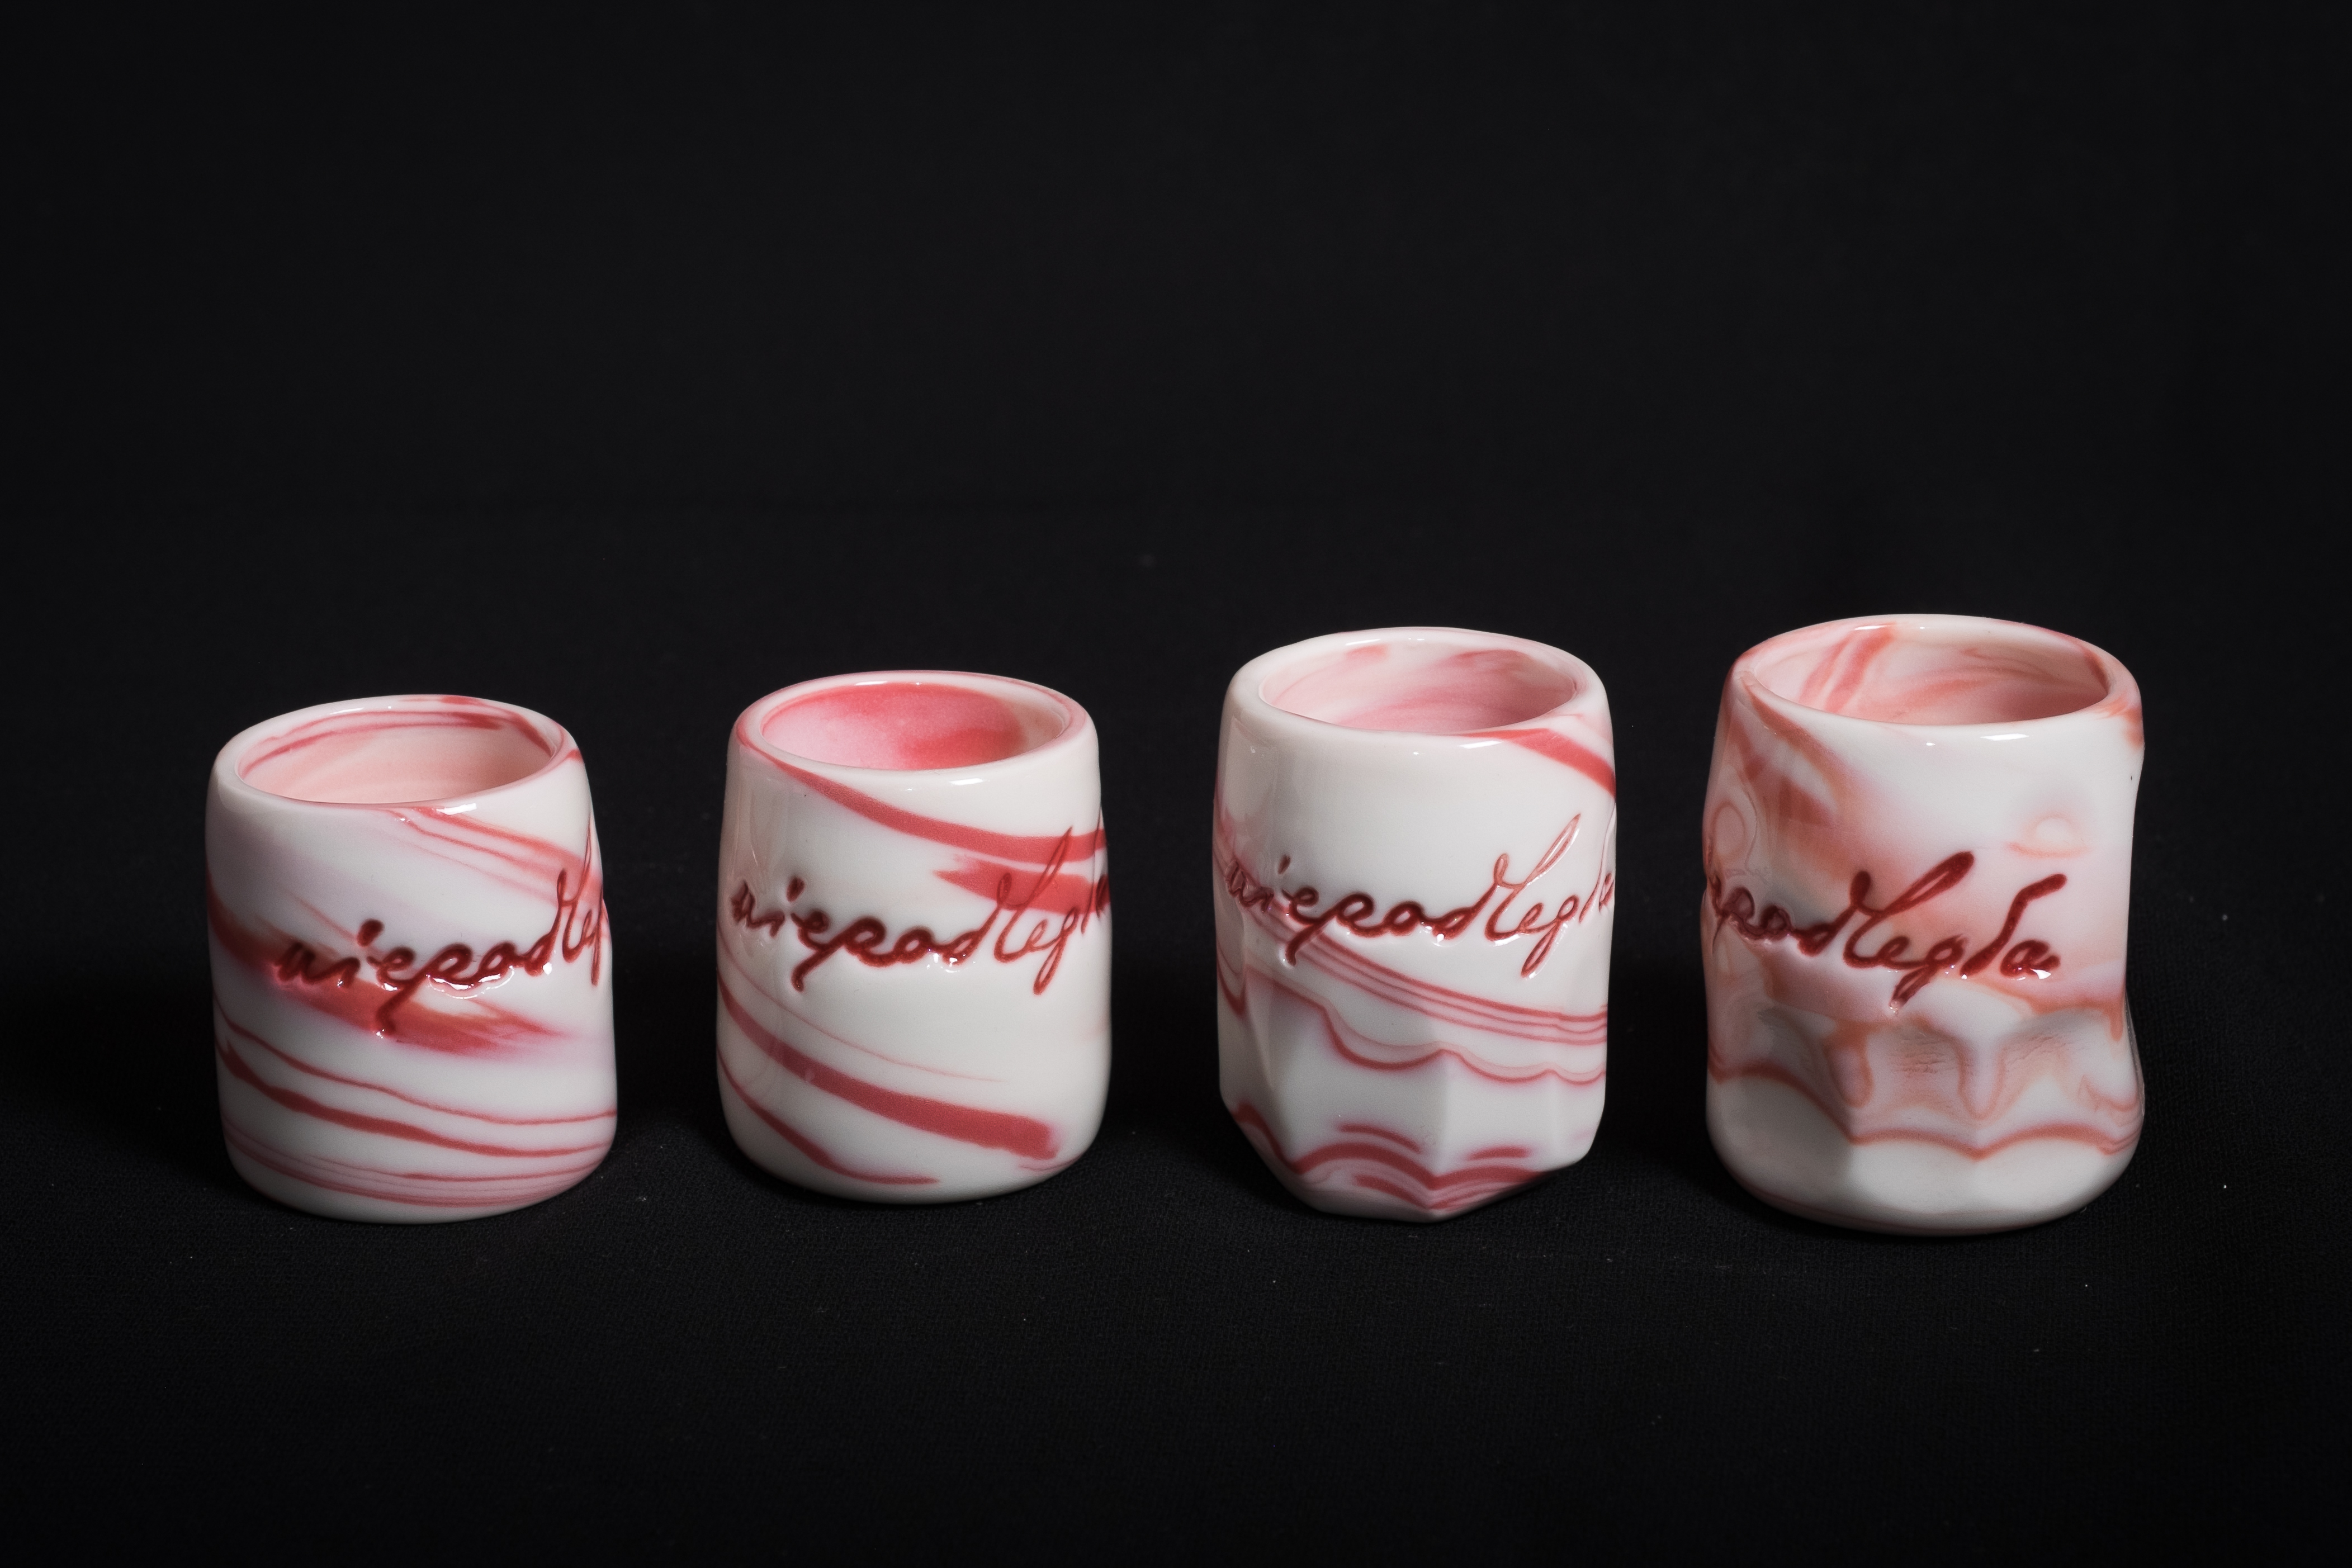
We do agateware to get nice spectrum of colors. But the colors change in the making process. This changes might be disappointing and a stress factor to the maker. They start with strong saturation when dumping the colorants. Then move to relatively pale color when wedging. But one can be very surprised when the piece gets dry. The colors switch to very light shades at that stage. All changes back to saturated shades at firing. At the bisque stage it is still not impressing (unless you look for pastels). But later, in the stoneware firing the colors blow up again in their actual vibrance. I ‘ve been not disappointed until now. I was even surprised how bright they can be at the end. See the below piece.
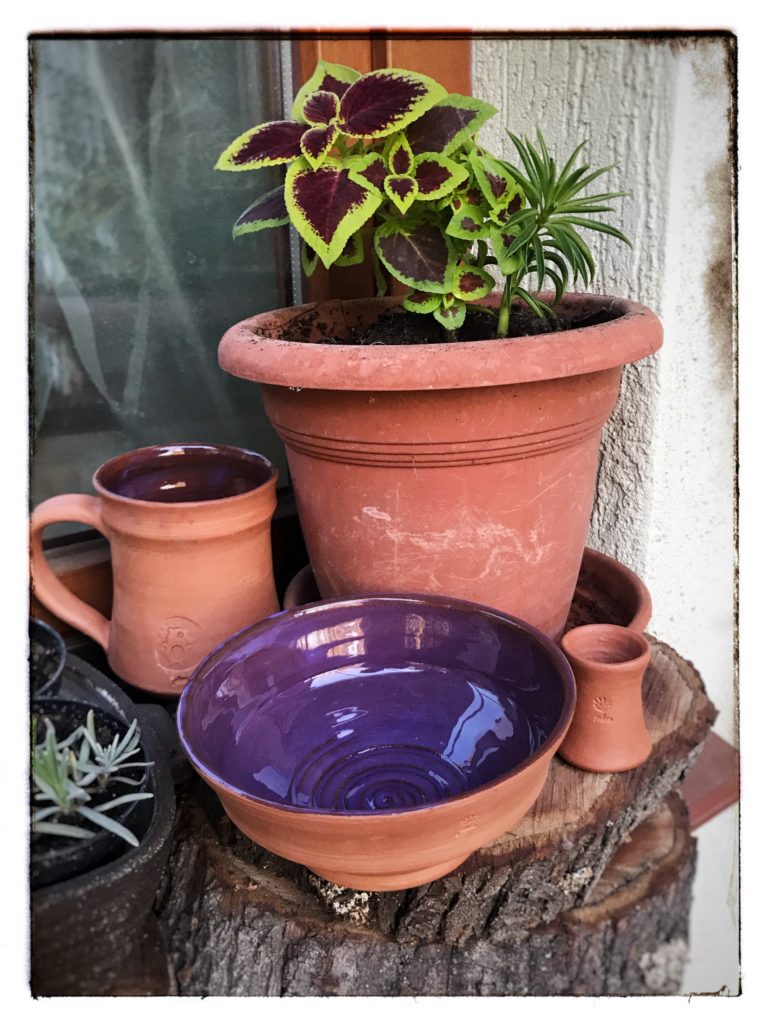
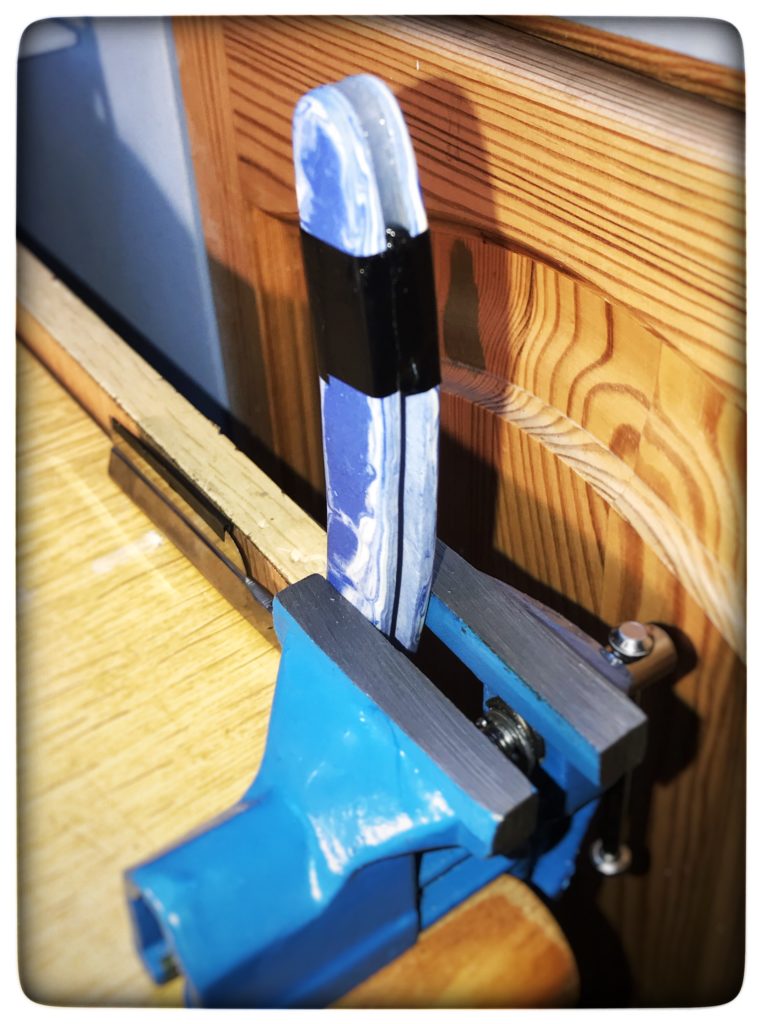
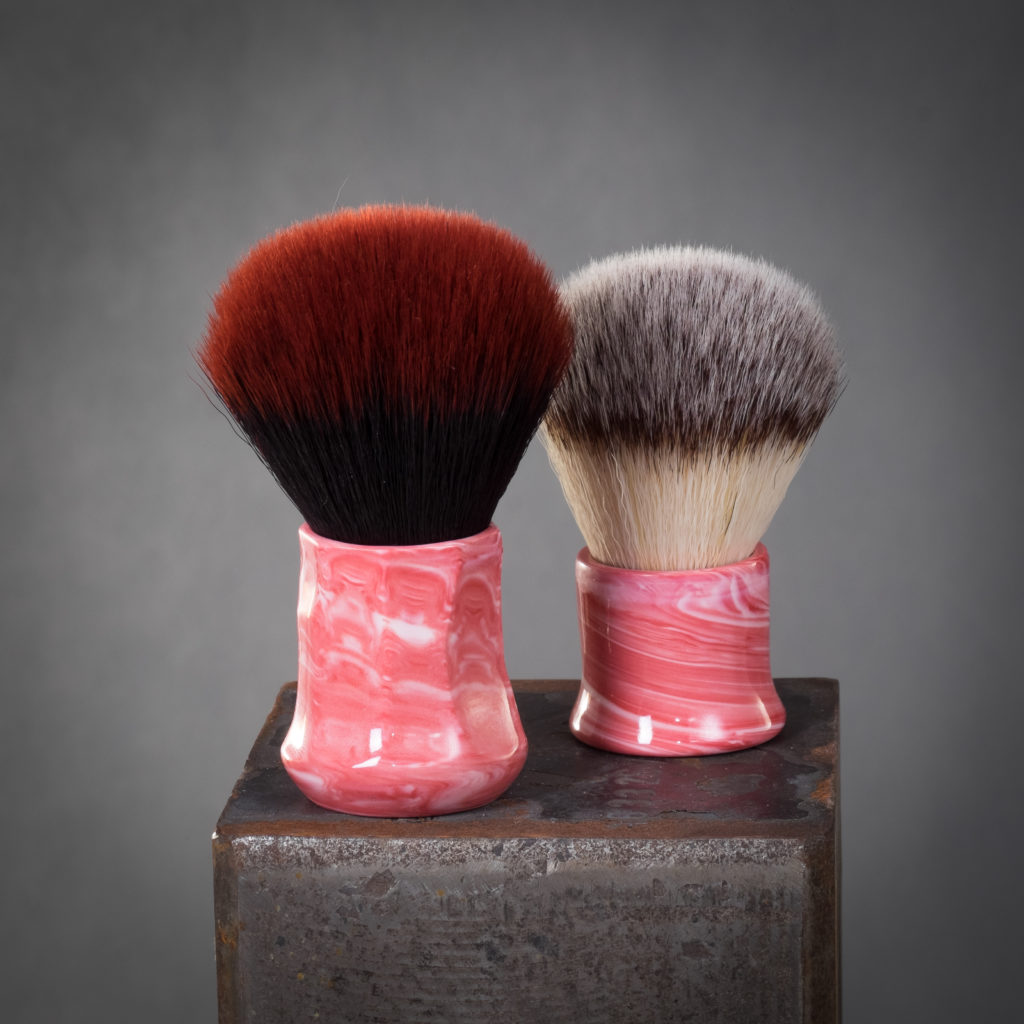
Another method to make the colors more saturated and appealing is to cover them with glossy transparent glaze. Myself, I prefer rather sating non-glazed surface of porcelain. But I have to admit, that glossy glaze makes the difference. See below the above handle before glazing.
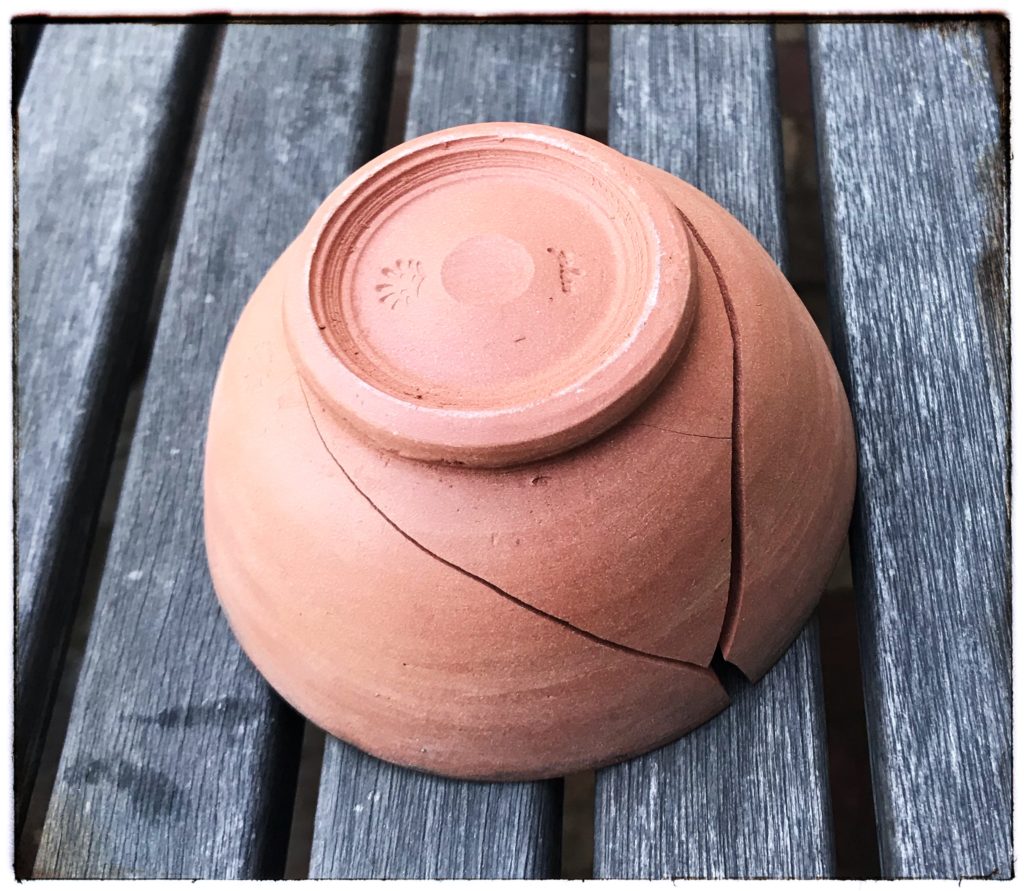
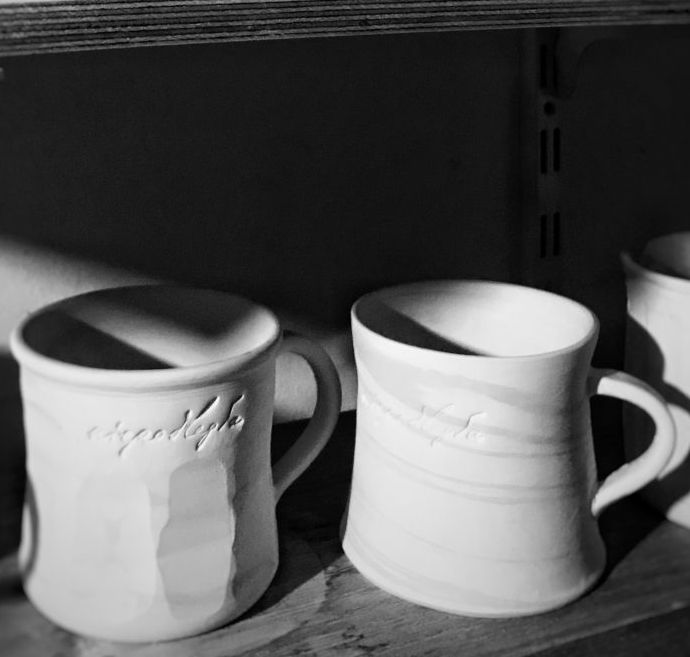
Sealing
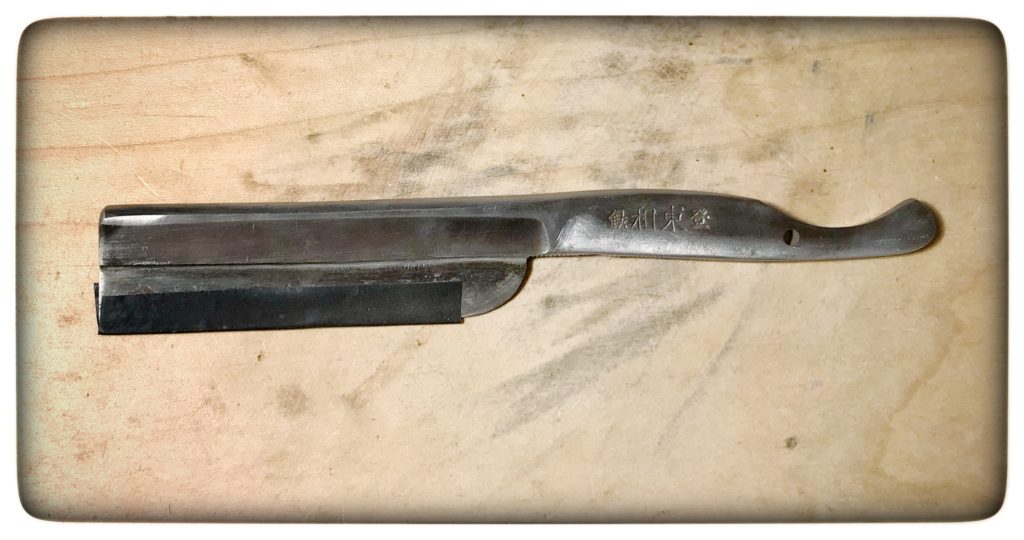
In my specific case I wanted to put clear and visible seal on my pieces. There was a purpose for it. The seal does not advertize myself but a national programme for celebration of Independence of Poland. This kind of occasional seals come not that remarkably visible in marbled bodies. Especially after firing (when edges shrink and fill the thin inprints) and after glazing (which fills the seal). Hence, the seal must be sharp and deep. To do so, you need to press out the seal in leather-hard state of the walls. Don’t bother too much about deformation, you may still still correct afterwards. Obviously, a firm support on the reverse site of the wall when sealing is mandatory!
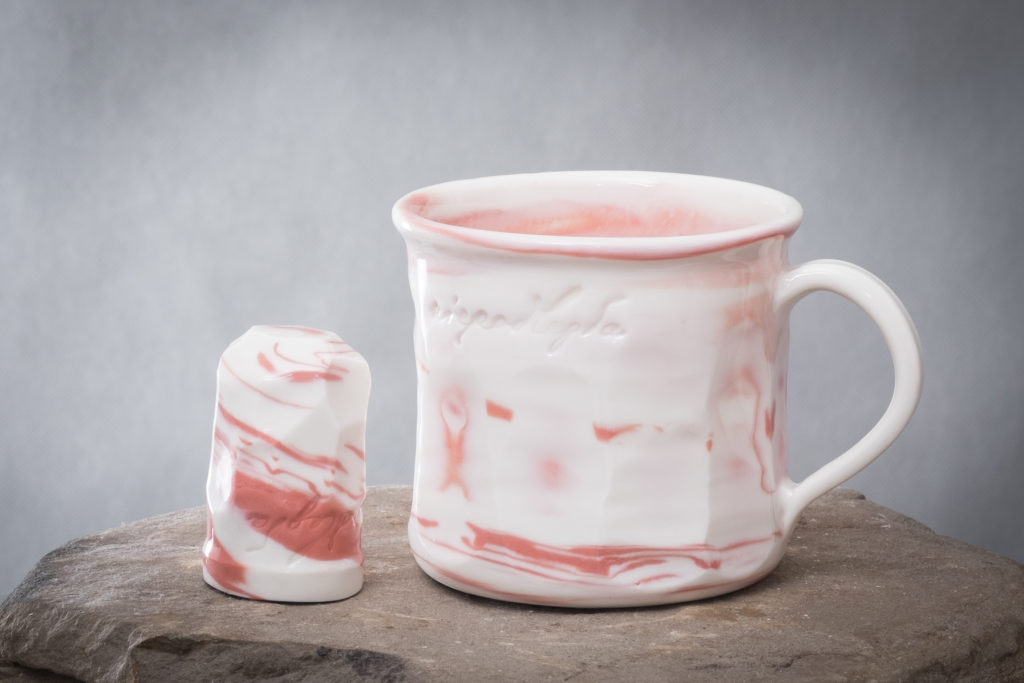
The results were still not satisfying to me. Hence, I tried to glaze the seal with additional color. It is almost impossible to glaze it precisely with a brush, just in the seal. Don’t care, go clumsy, all around. After drying I simply rubbed out the other parts with any tool or fine-grade (>1K) sand paper, so the glaze remains only inside. The results are nice, especially for my type of seal which emulate hand-writing.

Firing
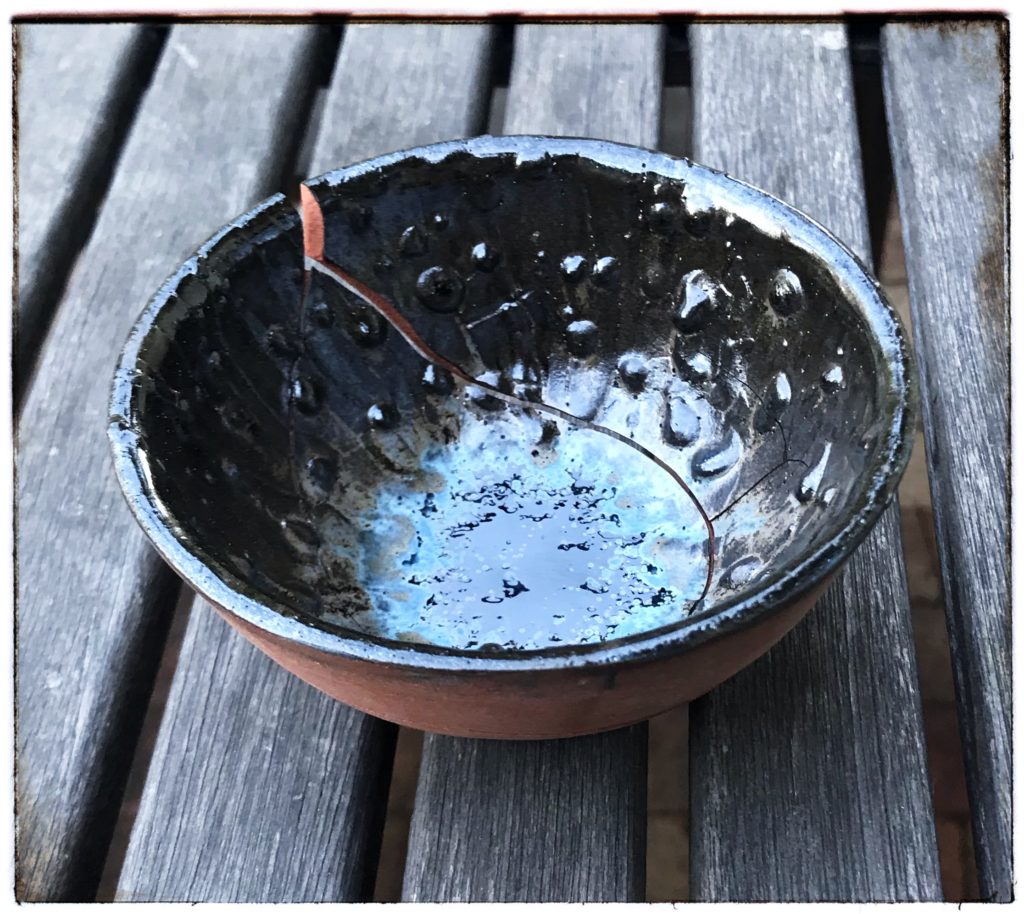
The same considerations regarding maximum firing temperatures applies to agateware as to any other materials. However, marbled pieces come a bit more complicated and prone for errors. Body clay firing temperature is one and the colorants firing temperature needs to be respected as well. Even if the volume of colorants is low. Here is an example when in theory all should be fine but there are evidences of passing the limits. Good practice is to not reach the limits of materials and keep some safety margin. So, although both – pigments and body can be fired at 1250°C, I go for 1245°C max and it works. See the below bubles in red layer.
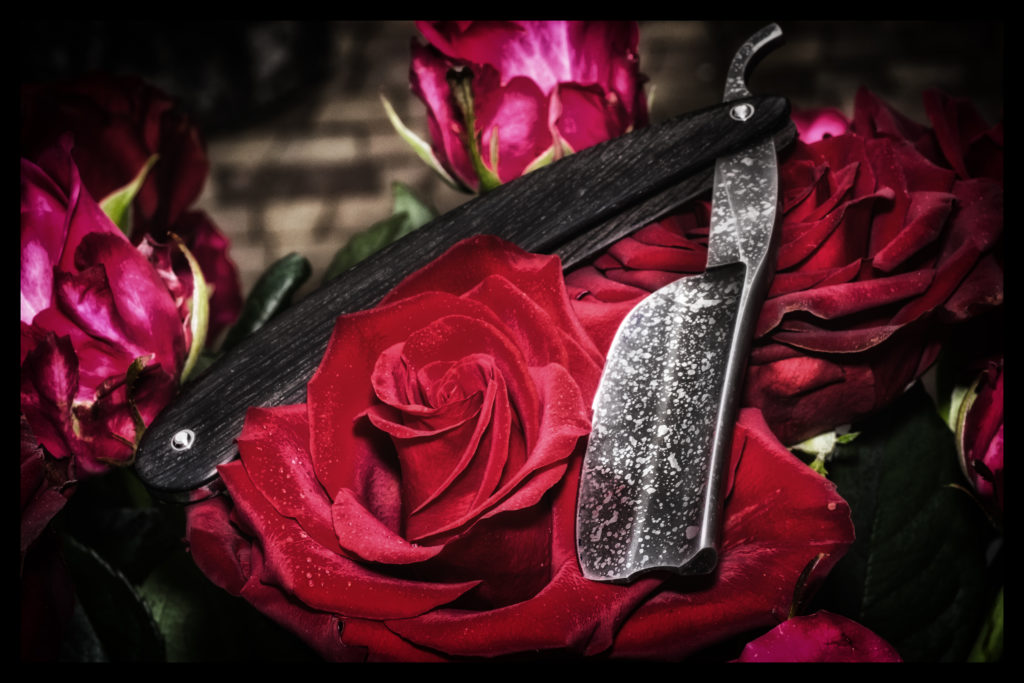
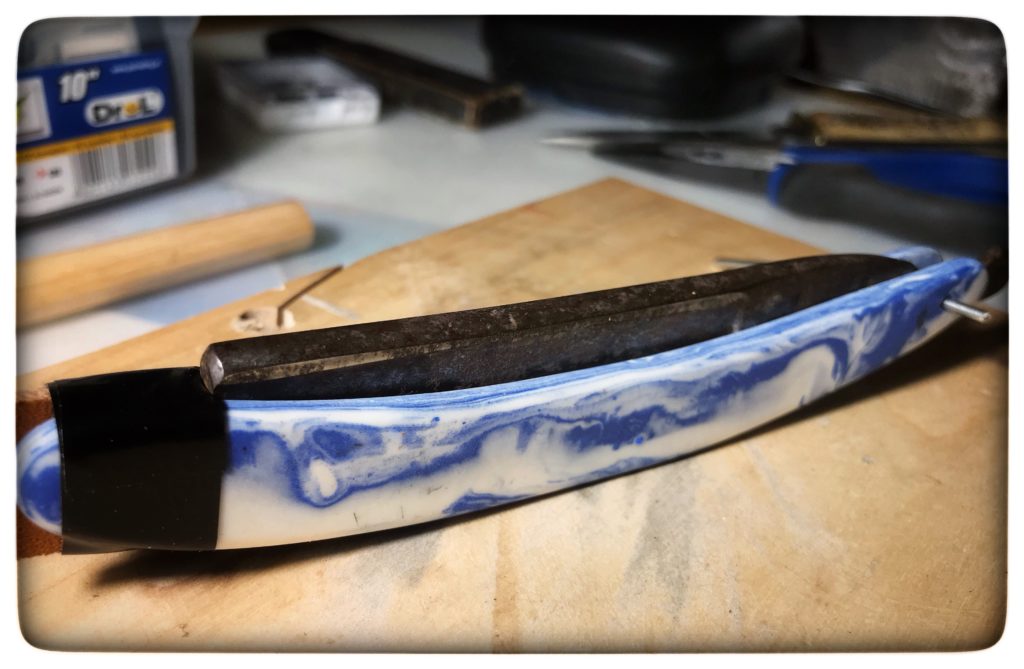
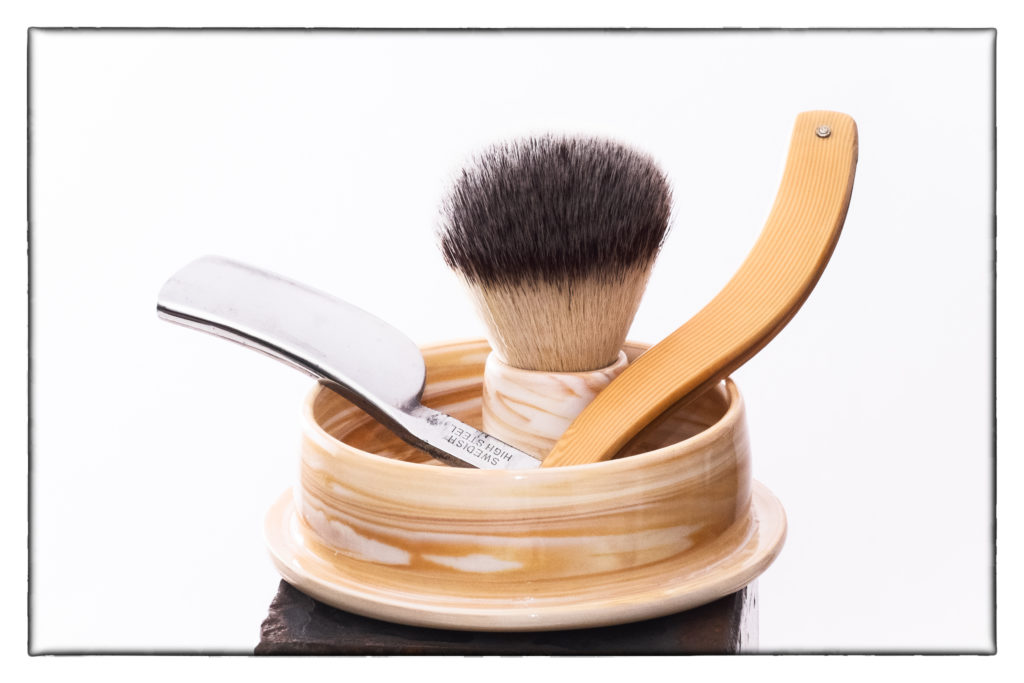
Other building techniques
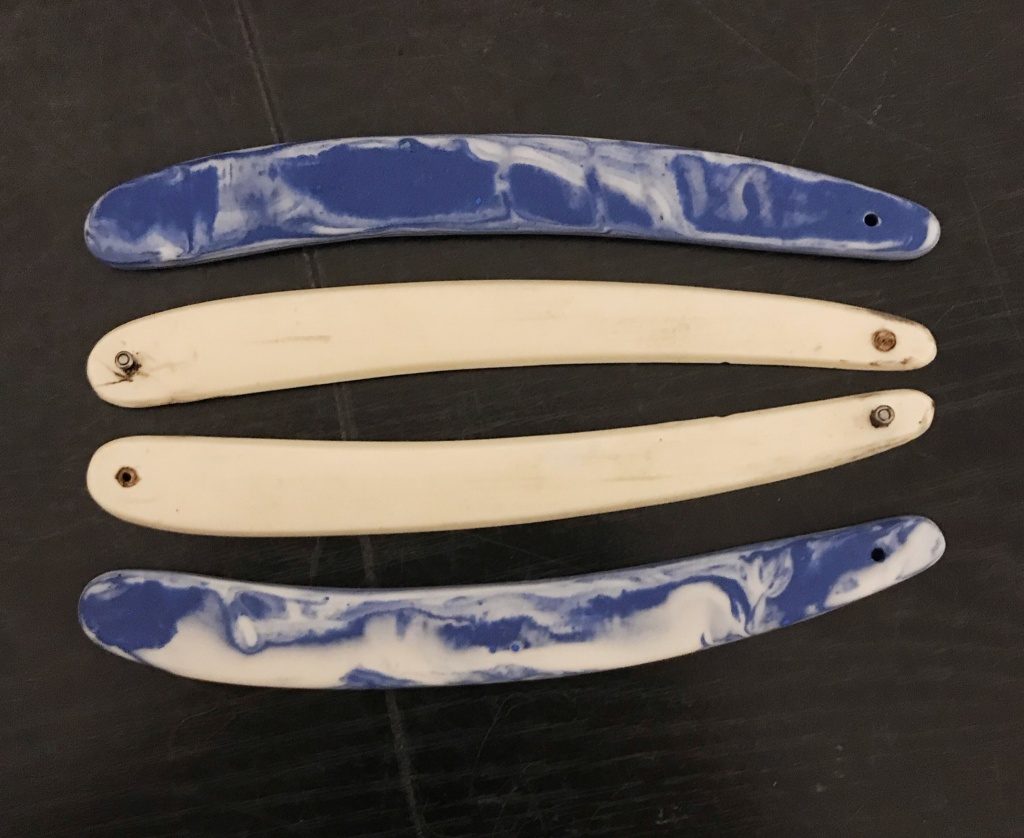
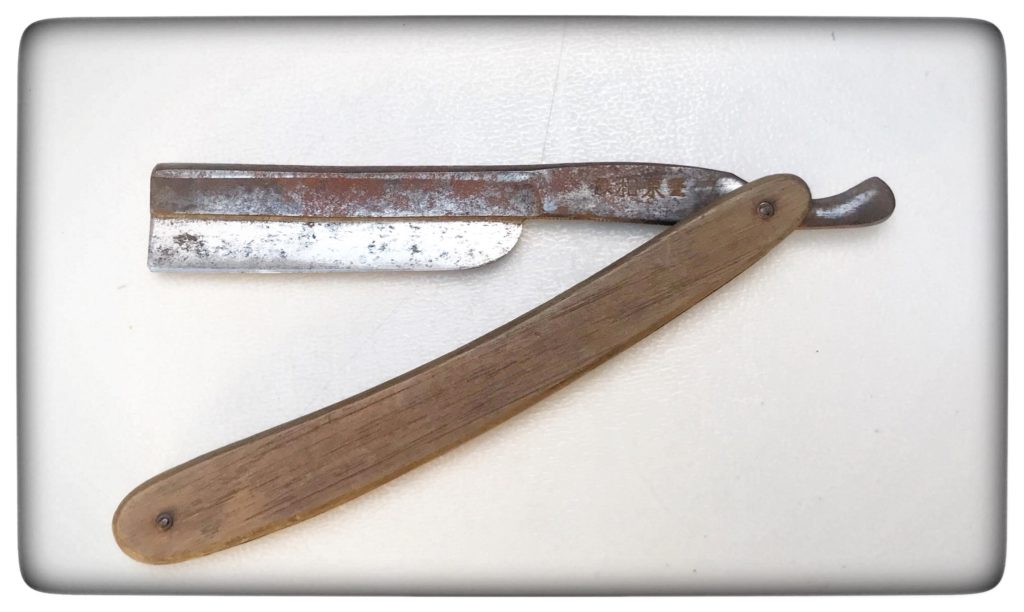
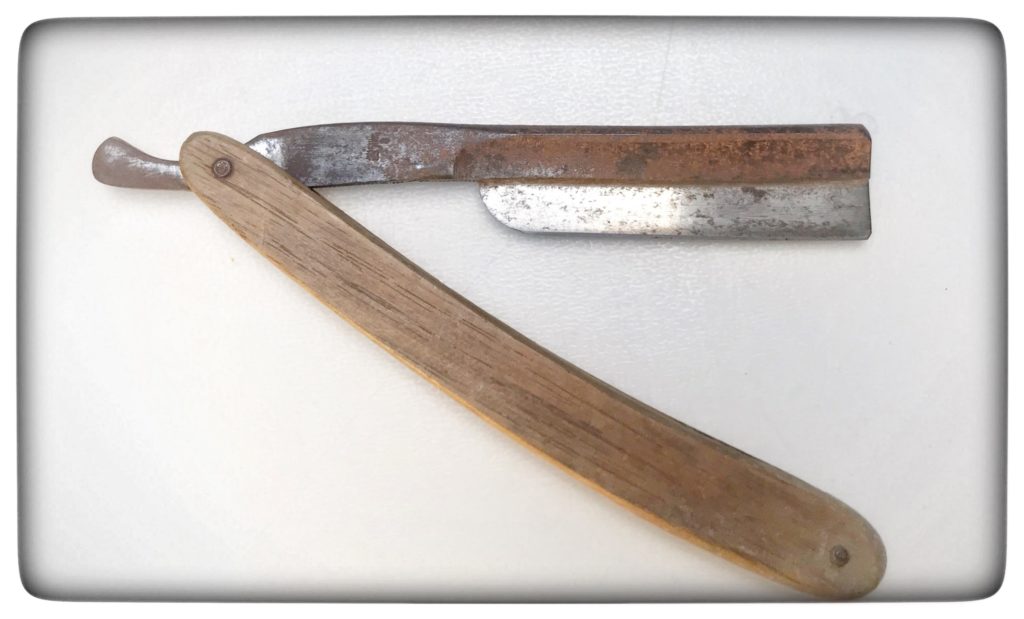
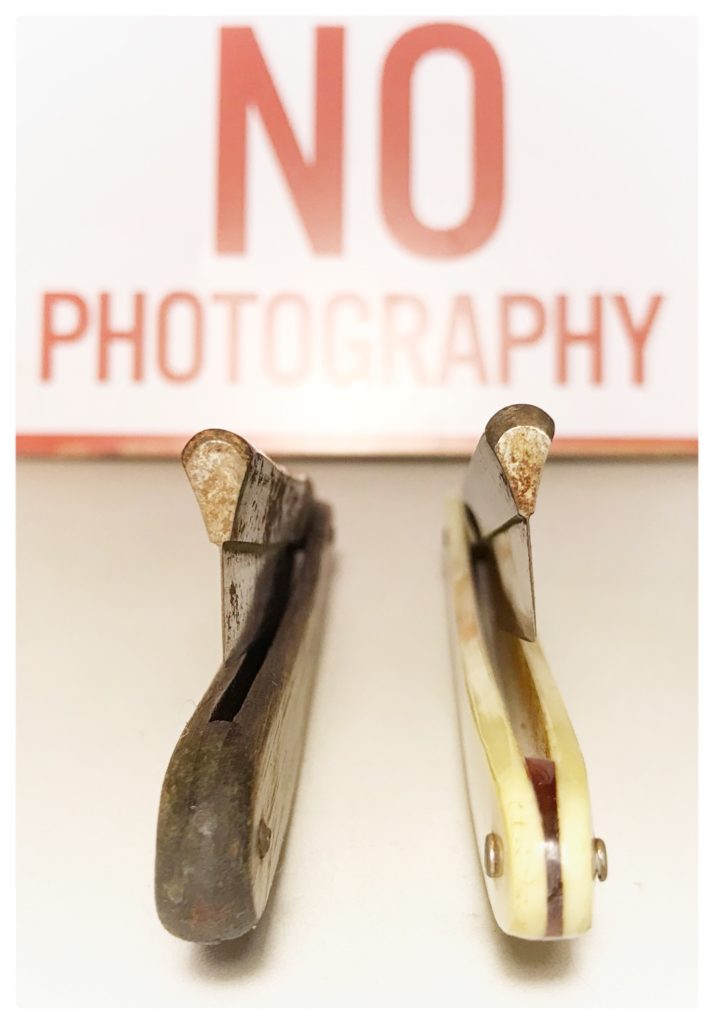
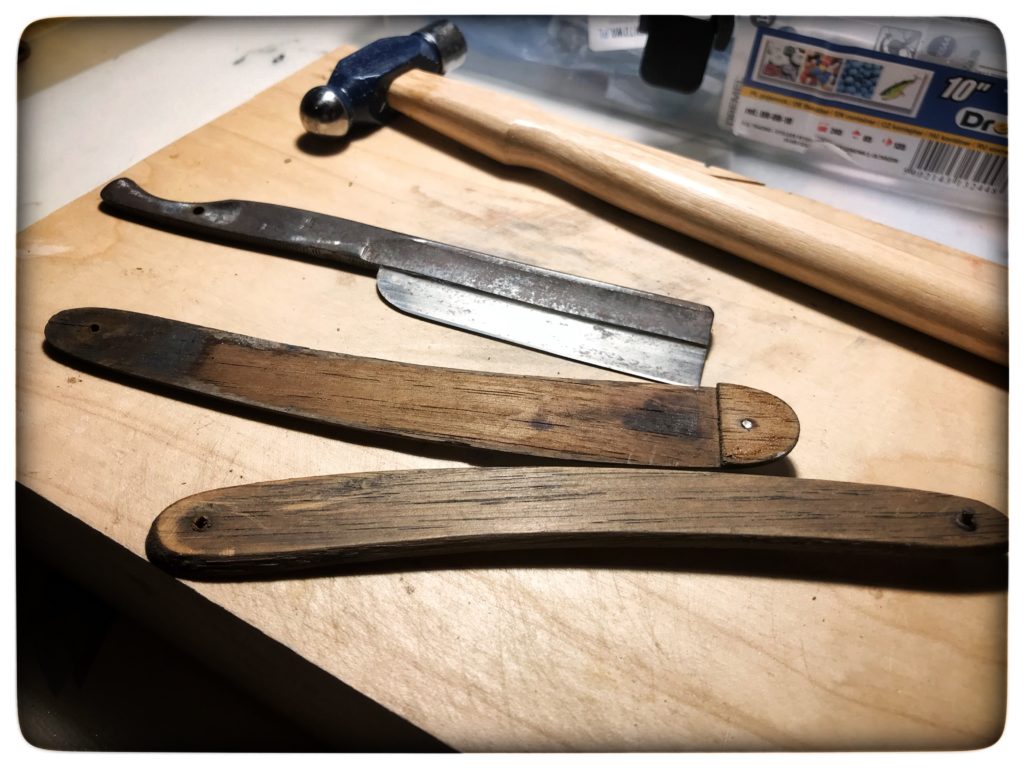
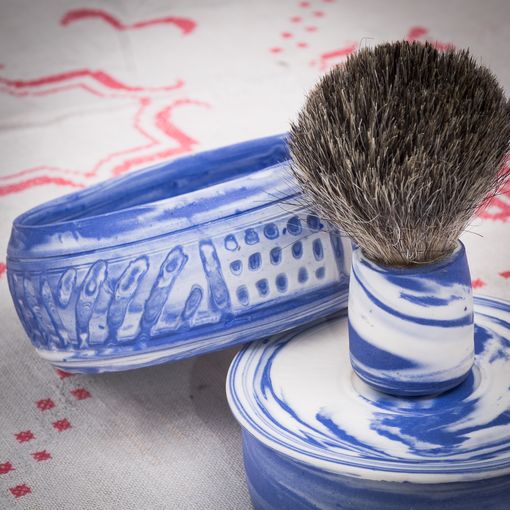
Is throwing the only way – no. Nerikomi is about layering differnet colors in beautifil patterns. I do not have experience in it. However, on of the abovepresented handles and the below shaving razor scales are made manually in a similiar way. I tried to cut the shape from plate thrown on the weel. But after some attempts I found it more consisted to cut hem from a rolled sheet of mixed clay. The effect is nice and fits to scuttles and bottles thrown on the wheel.